How do you clean a grass cutter?
2025-05-22
Table of content
A grass cutter is the perfect garden power tool for those unwanted long grasses, which can often be the difference between a manicured lawn and a luxury garden. That's why it's essential to clean your grass cutter to keep getting great results repeatedly.
Regular cleaning of your grass cutter offers multiple benefits. First, it ensures peak cutting performance by preventing grass clippings and debris from interfering with the cutting mechanisms. Second, removing accumulated grass, dirt, and moisture prevents corrosion and premature wear on crucial components, protecting your investment for years to come. Finally, clean equipment is safer equipment—clogged vents can cause overheating, while debris buildup can create dangerous operating conditions.
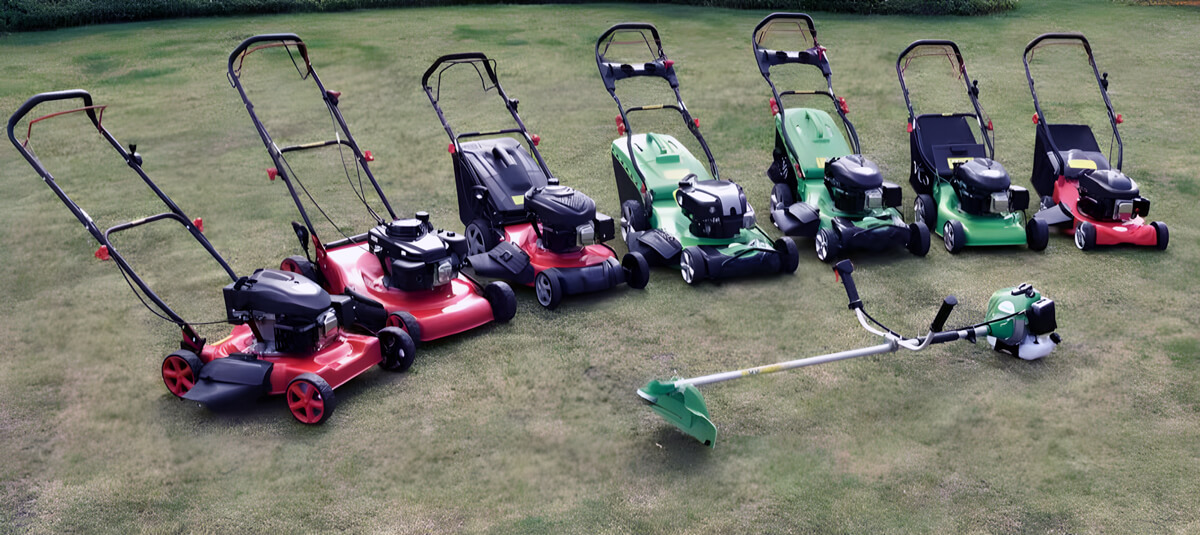
The specific cleaning approach may vary depending on your grass cutter type. Rotary mowers with their horizontal spinning blades require attention to the undercarriage and blade assembly. Reel mowers, with their precision cylinder cutting system, need careful cleaning between the blades. String trimmers and brush cutters require different maintenance for their cutting heads and guards.
In this comprehensive guide, BISON will walk through effective cleaning procedures for various grass cutter types, ensuring your equipment remains in optimal working condition throughout its service life. Follow the step-by-step guide in this blog post to learn how to clean a grass cutter to do this job safely and perfectly. Let’s get started.

Essential safety precautions before cleaning your grass cutter
Before beginning any cleaning procedure on your grass cutter, prioritizing safety is paramount. Improper handling during cleaning can lead to serious injuries, from cuts and lacerations to more severe accidents. Following these comprehensive safety guidelines will help ensure your cleaning process is both effective and safe.
Disconnect the power source
The single most important safety step before cleaning any grass cutter is completely disconnecting it from its power source. This critical precaution eliminates the risk of accidental starts that could result in severe injury.
Electric grass cutters: Unplug the power cord from the electrical outlet. Never rely solely on the power switch being in the "off" position.
Battery-operated models: Remove the battery pack completely from the unit. Simply turning off the device is insufficient.
Gasoline-powered equipment: Disconnect the spark plug wire and position it away from the spark plug to prevent any possibility of the engine starting. For added safety, allow the engine to cool completely before beginning maintenance.
Allow complete cool-down
Engines and motors generate significant heat during operation. Allow at least 30 minutes for your equipment to cool down completely before cleaning to prevent burns from hot components such as mufflers, engine blocks, or motor housings.
Wear appropriate personal protective equipment (PPE)
Proper protective gear is essential when cleaning grass cutting equipment:
Cut-resistant gloves: Protect your hands from sharp blades, rough edges, and residues.
Eye protection: Safety glasses or goggles shield your eyes from debris and splashes.
Closed-toe footwear: Protect your feet from dropped tools and provide stability.
Long sleeves and pants: Reduce the risk of cuts, scrapes, and contact with irritants.
Dust mask: Use when cleaning dusty equipment or handling strong fumes.
Secure the equipment
Before cleaning, ensure your grass cutter is positioned securely. Place the equipment on a flat, stable surface. For larger equipment like riding mowers, engage the parking brake and use wheel chocks if needed. For smaller equipment, consider using a maintenance stand designed for grass cutters.
Handle blades with extreme caution
The cutting blades represent the greatest injury risk during cleaning. Never handle blades directly without heavy-duty gloves. Use wooden blocks to prevent blades from turning while cleaning.
Essential tools and materials for cleaning your grass cutter
A thorough cleaning of your grass cutter requires the right combination of tools and materials. Having everything prepared before you begin will streamline the process and ensure you can properly address all aspects of maintenance. This comprehensive list covers everything you'll need for a complete cleaning session.
Basic tool set:
Screwdrivers: Both Phillips and flathead in various sizes for removing covers and accessing internal components.
Socket set and wrenches: For removing blades and other fastened parts.
Allen keys/Hex wrenches: Often needed for adjustments and accessing certain components on modern grass cutters.
Pliers: Regular and needle-nose varieties for gripping and manipulating small parts.
Putty knife or plastic scraper: For removing caked-on grass without scratching surfaces.
Specialized cleaning tools:
Wire brush: Essential for removing rust spots and stubborn debris from metal surfaces.
Small brushes: An assortment of sizes, including old toothbrushes, for reaching tight spaces.
Compressed air canister: For blowing out debris from vents, filters, and hard-to-reach areas.
Cleaning supplies
Mild detergent: Avoid harsh chemicals that could damage components, dish soap works well.
Bucket: For mixing cleaning solution and rinsing cloths.
Spray bottle: For applying cleaning solution to specific areas.
Paper towels: For quick wipe-down and drying.
Old towels: To place under the equipment to catch drips and spills.
Degreaser: For removing oil and grease buildup from engines and mechanical parts.
Carburetor cleaner: For gas-powered models with performance issues.
White vinegar Solution: A natural option for removing mineral deposits and light rust.
Rust remover: For more serious rust issues on blades and metal components.
Garden hose: With adjustable nozzle for rinsing (use with caution, avoiding electrical components).
Lubrication and protection
Lubricating oil: Specific to your model's requirements (check the owner's manual).
Silicone spray: For protecting plastic and rubber components from cracking.
WD-40: For loosening rusted parts and providing light lubrication.
Grease: For wheels, bearings, and other moving parts as specified by the manufacturer.
Replacement Items
Air filter: Consider having a replacement ready if the current one is heavily soiled.
Spark plug: For gas-powered models if the existing one shows signs of wear.
Fuel filter: If inspection reveals significant contamination.
Blade sharpening Kit: Including files and sharpening stones or be prepared to replace dull blades.
Comprehensive step-by-step guide to cleaning your grass cutter
Proper cleaning of your lawn mower involves multiple steps to ensure that each component is thoroughly maintained. This detailed guide will walk you through each step of the cleaning process, from initial debris removal to final lubrication. Following these steps regularly will maximize the performance, lifespan, and safety of your equipment.
Always read the manufacturer's owner's manual first, as it contains instructions and guidelines for your specific lawn mower model.
Step 1: initial debris removal
Position your grass cutter on a flat, stable surface with good drainage. Use a dry brush to sweep away loose grass clippings, leaves, and dirt from all exterior surfaces. Pay special attention to cooling vents, which can become clogged and cause overheating.
Use compressed air to blow out debris from hard-to-reach areas, directing air into vents, around the motor housing, and other tight spaces. For stubborn debris, use a small brush (an old toothbrush works well) to loosen material before blowing it away.
Finally, prepare a solution of mild detergent and warm water. Dampen a soft cloth and wipe down all exterior surfaces. For stubborn stains, use a soft brush with soapy water. Then, dry all surfaces thoroughly with clean, dry cloths.
Step 2: blade cleaning and maintenance
Blade removal(if necessary):
Tilt the machine according to the manufacturer's instructions (gasoline models usually have the air filter/carburetor facing up). Use a wooden block to prevent the blade from turning, or have a helper hold it steady. Remove the center bolt or nut (note that some blades use reverse threads). Carefully remove the blade, noting the order of the washers or spacers. For rotary mowers, mark the side of the blade that faces down to ensure proper reinstallation.
Clean the blade:
Scrape away accumulated grass clippings with a putty knife or plastic scraper (a paring knife can help with dry, caked-on grass clippings). Use a wire brush to remove rust or stubborn debris. Then, wash with soapy water, or rinse thoroughly with a strong stream of water using a hose with a suitable nozzle. Finally, dry thoroughly with a clean cloth to prevent rust.
Blade inspection:
Inspect blades for cracks, bends, or excessive wear—replace if damaged. If blade sharpening is necessary, maintain original blade angle (usually 30-40 degrees) or seek a professional sharpening service.
Reinstall blades:
Install blades in the correct orientation (markings usually face down) and reinstall all washers and spacers in place. Check blade balance by balancing blades with a blade balancer or screwdriver. Balanced blades reduce vibration and prevent long-term damage to the cutter.
Step 3: Undercarriage cleaning
With the machine still tilted (or inverted for a push mower), inspect the undercarriage. The undercarriage of a mower is the enclosed housing in which the blades rotate. Although not visible, cleaning this part is essential for performance.
Use a plastic scraper to remove caked-on grass clippings and debris. For stubborn buildup, spray with a garden hose (avoid high pressure). Then pour a mild detergent solution onto a cloth and wipe the undercarriage, using a small brush to clean corners and recessed areas. Finish by rinsing with a small amount of water and drying thoroughly with a clean cloth. For electric mowers, be especially careful to avoid getting water in the motor housing.
It is recommended to clean this area at least twice each mowing season and again at the end of the season.
Step 4: engine/motor area cleaning
Before cleaning the mower engine, remove the spark plugs to prevent accidental starting. Make sure the engine is completely cool before cleaning it. Then, pull the engine baffle open and remove the engine housing.
Use a stiff-bristle brush to clean the radiator fins, flywheel fins, and the inside of the engine housing. Avoid using compressed air here, as this may blow debris into hard-to-reach places.
Step 5: Clean your grass cutter's fuel system
If you notice that your grass cutter doesn't work as well as it used to and makes more noise than usual, you must clean the fuel line. Verify that the machine is off, take out the spark plug lead, then find and shut the fuel valve at the gas tank's base.
First, inspect the tank. Don't try to fix it if it's broken or cracked. The only option available is to replace it. Next, start cleaning the fuel system from the filters and vents using an air hose with a nozzle. Finally, use clean and fresh fuel to avoid clogging in the carburetor.
Use a fuel stabilizer to keep the fuel from spoiling if the grass cutter won't be used for a long time.
Step 6: Clean your grass cutter carburetor
A damaged or clogged carburetor will turn off your unit. If you see any signs of corrosion, you must replace the part. If it’s just dirty, you can quickly clean it yourself.
Separate all the pieces and place them in a plastic container with carburetor cleaner for about an hour. Next, use compressed air to dry the parts after giving them a quick rinse in cold water. Remember that the carburetor must be completely dry before reassembly.
Step 7: Clean your grass cutter's air filter
Clear or swap out the air filter as instructed by the manufacturer. An air filter needs to be clean for engine performance to be at its best.
To clean the paper filter, gently tap it by hand to loosen most dirt and dust. Be careful not to tear it during the process. Sometimes, removing the old paper filter and replacing it with a new one is a better option. As for foam pre-filter on your grass cutter, it would help to wash every twenty-five hours.

Conclusion
Regular cleaning is necessary for your grass cutter to continue operating efficiently and last long. Cleaning after each use, especially during mowing season, helps prevent the accumulation of grass clippings and debris that can affect the grass cutter’s performance.
Proper blade cleaning ensures precise cutting action while preventing unnecessary wear. Undercarriage care prevents corrosion, and engine cleaning supports optimal power delivery and fuel efficiency.
At BISON grass cutter manufacturing facility, we’ve seen that well-maintained grass cutters outlast neglected units by 3–5 years. We recommend a simple routine: remove visible debris after each use, clean every 5–10 hours of operation, and conduct deep maintenance at the season’s start and end.
By following these guidelines, you’ll ensure reliable operation, cleaner cuts, and a longer lifespan.
Share :
