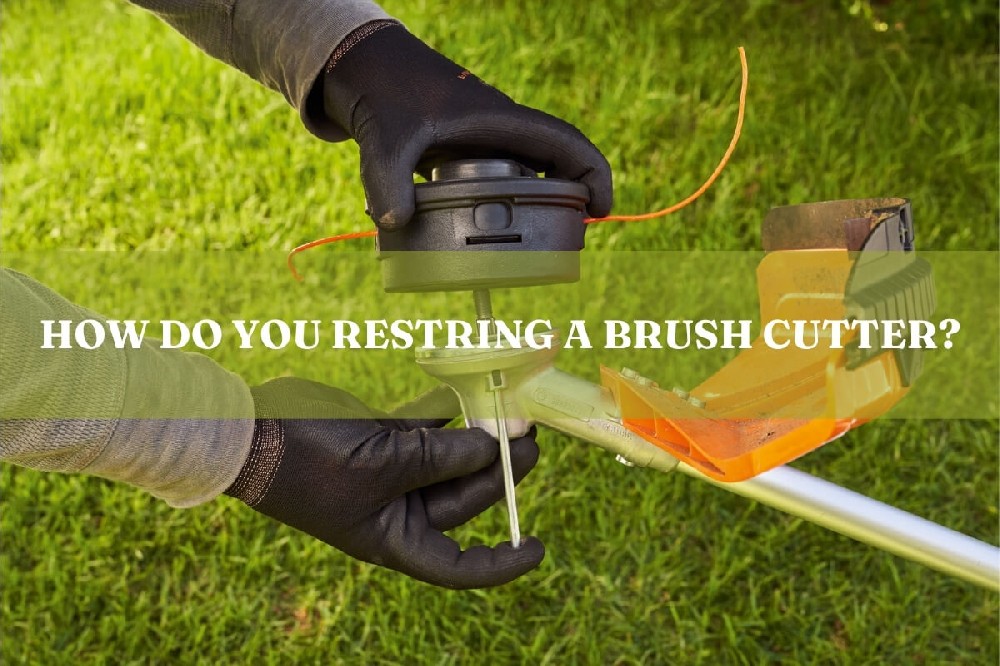
How do you restring a brush cutter?
2026-04-27
Table of content
A brush cutter is one of the most versatile tools for keeping your garden, lawn, or yard neat. It can trim thick grass, weeds, and overgrown bushes that a regular lawn mower or trimmer cannot easily handle.
You’re halfway down a fence line or cleaning thick edges when the brush cutter suddenly stops working properly—snapped line, tangled spool, or no line left to feed. The job comes to a halt, forcing you to choose between continuing with poor cut quality or stopping for a time-consuming fix.
This trimmer line restringing guide provides simple step-by-step instructions, tips, and maintenance advice to help you reset your tool in about ten minutes. It also includes practical shortcuts and key details that can help prevent the line from wearing out quickly. This guide is developed with input from BISON's factory engineers, who have produced brush cutters for wholesale distributors across 60+ countries.
Knowing how to properly restring your brush cutter improves cutting performance, extends tool life, and ensures safe operation.
Why it's essential to restring your brush cutter
Restringing your brush cutter is an important maintenance task that directly affects performance, lifespan, and safety. A frayed or broken line can cause uneven cutting, motor strain, and even accidents. Proper line maintenance helps you get consistent results while reducing frustration during use.
Maintaining optimal performance
A properly wound line ensures smooth and even cutting. When the line is worn or uneven, the brush cutter may jerk during operation, making trimming harder and more time-consuming. In thick weeds, a damaged line often requires multiple passes, which wastes energy, fuel, or battery. Keeping the line correctly sized and wound helps maintain efficiency.
Reducing wear and tear
A faulty line forces the motor to work harder, which can lead to overheating or faster wear. This is especially important for gas-powered models, where extra strain can also reduce fuel efficiency. Regular restringing helps prevent long-term damage and keeps the tool running properly.
Increasing safety
A frayed or broken line may snap during use and create flying debris that can injure the operator or nearby people. Keeping the line strong and properly wound reduces this risk.
Improving cutting efficiency
A fresh line improves cutting speed and quality, reducing the need for repeated passes. This is especially important for landscapers or gardeners handling large areas. Using the correct line thickness and material allows smoother cutting through weeds and tall grass without slowing down. For landscaping businesses or rental operators managing multiple units, consistent line maintenance also reduces customer complaints and servicing costs.
Essential preparation before restringing
Treat the brush cutter cutting line as a wear part that should be replaced when you notice fraying, frequent snapping, or a rough cut edge.
Preparation is important for a smooth and safe restringing process. Taking the right precautions reduces the risk of injury and ensures more efficient operation.
Overview: Brush cutter types and line basics
Successful restringing requires checking your power source, cutting head mechanism, correct line diameter, spool type, and winding direction before removing any parts.
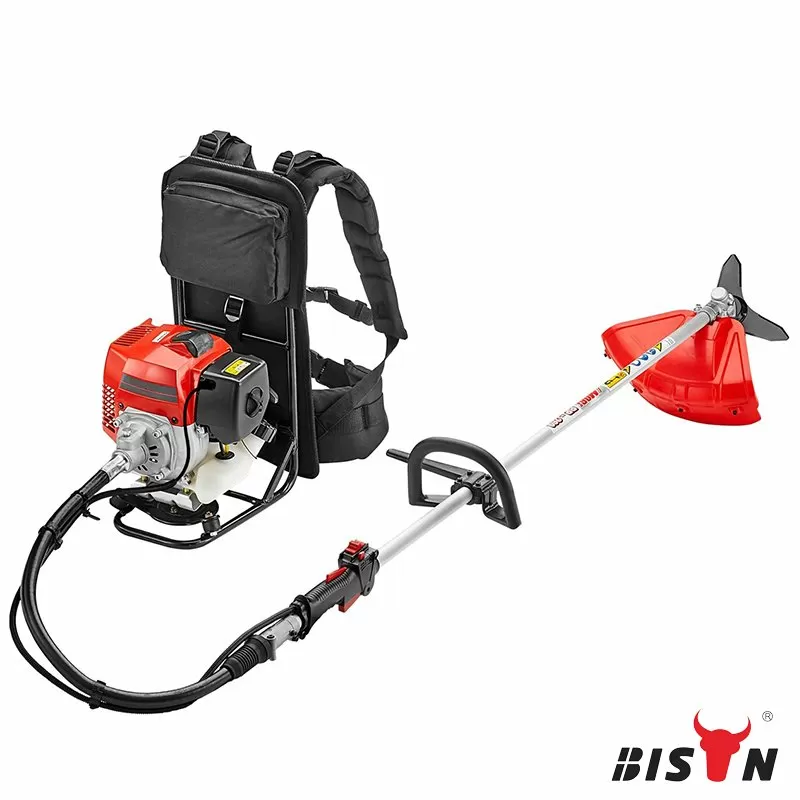
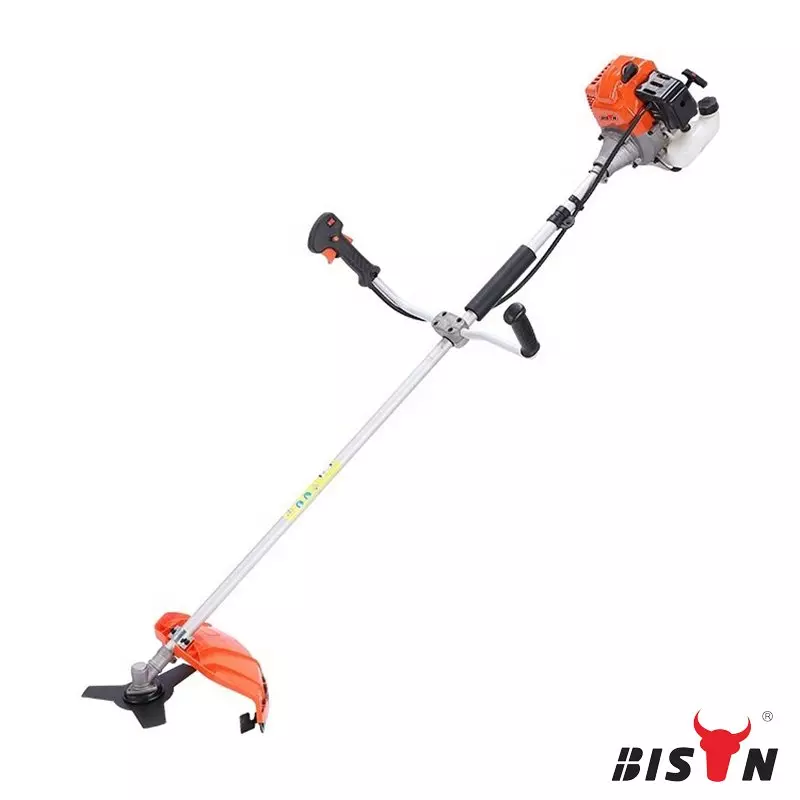
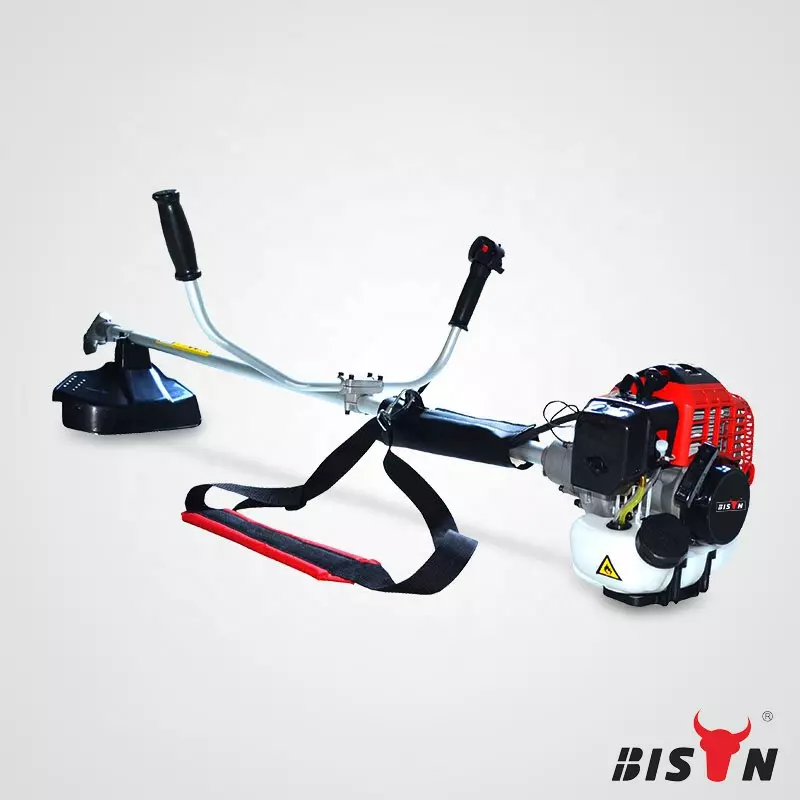
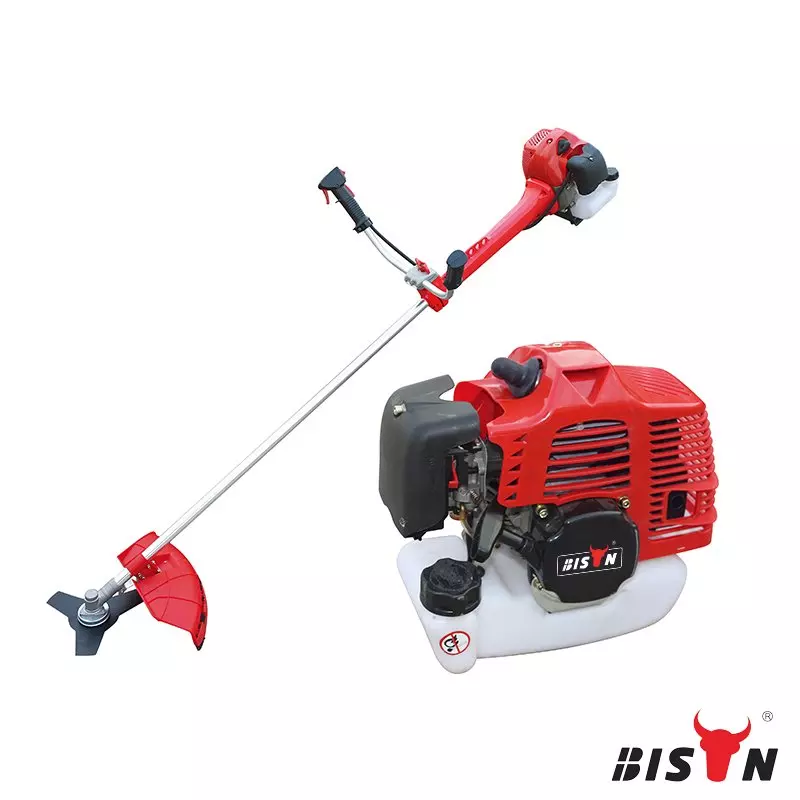
Start by identifying your power type. Gas brush cutters are suited for long, continuous work. Electric corded models are best for fixed work areas, while battery-powered units are ideal for mobile use and noise-sensitive environments.
Next, confirm the cutting head mechanism.
Bump-feed heads: Release line when tapped on the ground.
Semi-automatic heads: Advance line through trigger or head action.
Manual heads: Require stopping the tool to adjust the line by hand.
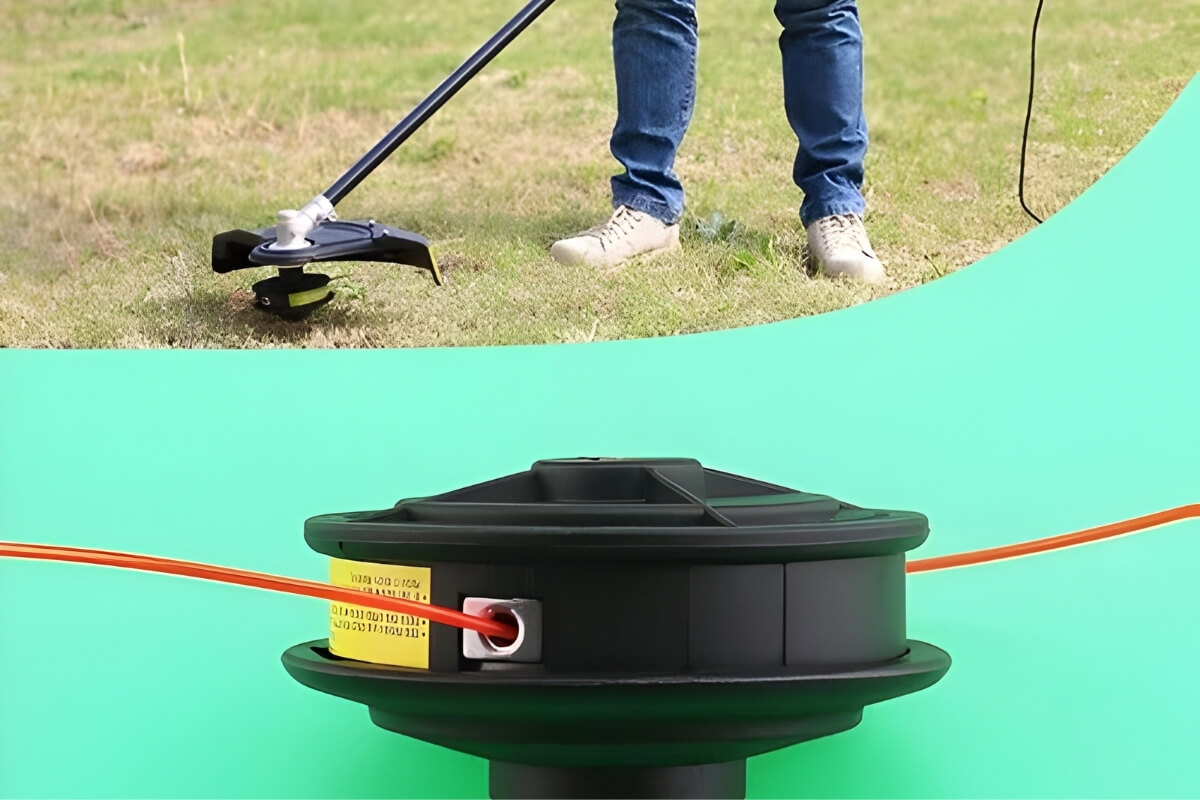
Understanding your spool type
Spools may use either a single-line or dual-line system. Knowing your spool type ensures correct winding technique, proper tension, and accurate line length. Incorrect setup can lead to poor cutting performance or line jamming.
Safety first
Always disable the power source before working on the cutting head. For gas units, remove the spark plug wire. For corded electric models, unplug the unit, and for cordless models, remove the battery.
Wear protective gear at all times, including heavy-duty gloves, long sleeves, safety glasses, long pants, and closed-toe shoes. This helps protect against sharp edges, debris, and line fragments that may break during handling.
A frayed or broken line can snap unexpectedly during operation, creating flying debris that may injure the operator or bystanders. Using a properly maintained line and wearing full protective equipment significantly reduces this risk.
Avoid working near children or pets during maintenance. Set up your work area in a well-ventilated space, clear any loose debris, and check the head and guard for cracks before starting.
Tools and materials needed
Select the replacement line based on diameter as part of proper brush cutter maintenance. Always check the manufacturer manual for the approved diameter and profile. Common shapes include round, square, twisted, or multi-sided, depending on the cutting head compatibility.
Gather the necessary tools and equipment such as a replacement line, screwdriver, and optionally scissors or line cutters. A clean, flat workspace is recommended, along with a small container or cloth to keep screws and small parts secure. A small brush can also help remove debris from the spool housing.
Cut the line cleanly to avoid jams. Use heavy-duty scissors, wire snips, or a dedicated line cutter, and make straight cuts to help the line seat properly in the spool.
Inspect the spool and housing before reassembly. Look for cracks, worn edges, or damaged eyelets, and replace the spool if necessary. Clean out dirt, grass clippings, and old line to ensure smooth feeding. Keep basic hand tools ready, such as pliers for tight caps and springs, and screwdrivers for fastened heads.
Choosing the right line for your brush cutter
Always ensure the replacement line matches your brush cutter specifications. Using an incompatible line can cause feeding issues, motor strain, or spool damage. Refer to the manufacturer manual for the correct line type and diameter, as incorrect use may also void the warranty.
1. Choosing the right thickness
Line thickness usually ranges from 1.2 mm to 3 mm. Thin line works best for light grass and trimming, while thicker line is suited for dense grass, shrubs, and tougher vegetation. A 2.4 mm line is commonly used for general garden work, while a 3 mm line is better for heavy-duty clearing. Using the wrong thickness can reduce efficiency or overload the motor.
2. Material considerations
Nylon line is standard for residential use due to its flexibility and affordability. Reinforced or braided lines are designed for heavier or professional use and often include additives to reduce heat and wear, making them more durable during long sessions.
3. Single line vs dual line spool
Single-line spools are simpler and suitable for light trimming. Dual-line spools cut more efficiently and cover more area, making them better for thicker grass and weeds, though they may require more skill and maintenance.
4. Line visibility and color
Brightly colored lines such as orange or green improve visibility while trimming. This helps avoid accidental damage to plants, fences, or garden edges, especially in tight or decorative areas.
Additional handling tips
Use a line loading tool to speed up preparation when handling multiple units. Apply a small amount of lubricant only if the spool becomes difficult to insert or move inside the housing.
Clean as you work: Wipe the housing with a rag and remove sand or grass buildup using a stiff brush before reassembly to keep the feed system working smoothly.
Step-by-step guide to how to restring a brush cutter
Step 1: Remove the trimmer head cover
Locate the head's release points first. Most spools are secured using clips, screws, or twist locks. Look for side tabs, push buttons, or a bump knob underneath the head.
Press the tabs and pull the outer cover straight off. If your model uses a bump knob, turn it counterclockwise before lifting the cover.
Removing the spool
Carefully remove the spool to avoid damage and ensure smooth operation. Lift out the inner spool along with the tension spring. Set the spring aside in a safe place so it does not get lost or roll away.
Always follow the manufacturer's instructions for your specific model. Plastic tabs and clips can break easily, so avoid forcing any parts during removal.
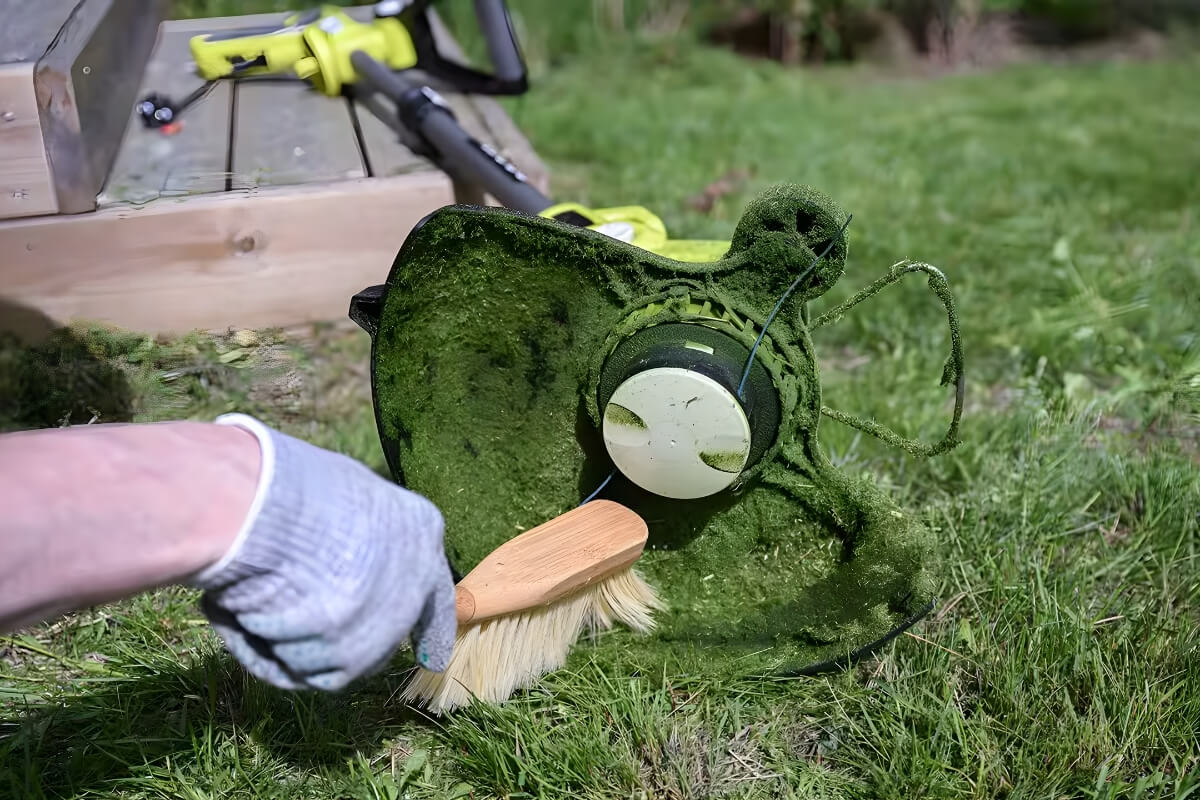
Step 2: Clean and inspect the spool assembly
Cleaning the spool and housing
Wipe the spool, housing, and eyelets clean to remove dirt, dried clippings, and old grease. Remove all remaining line pieces and debris, as buildup can affect smooth rotation and cause tangles or line breakage. Use a small brush, compressed air, or a damp cloth to reach tight areas.
Inspect the spool divider ridge carefully. Replace the spool if you notice cracks, melted edges, or a worn ridge that allows the line to cross over.
Checking the eyelets and guides
Inspect the metal eyelets and line guides for grooves, sharp edges, or burrs. These feed points help guide the line, and any damage can increase friction, reduce line life, and cause breakage during use. Worn eyelets can also create feed drag, which is why some users keep spare eyelets and spools as quick replacement parts.
Checking the spring mechanism
Examine the internal spring for rust, bending, or distortion. The spring supports line feeding and maintains proper tension inside the spool. A weak or damaged spring can cause uneven feeding and should be replaced before rewinding.
Step 3: Measure and cut the trimmer line
Measure the replacement line according to your spool size. Cut a length that is enough to fill the spool without overpacking; always refer to your manual for the correct recommendation. Typically, 3–5 meters is sufficient. For dual-line spools, cut two equal lengths. Avoid cutting excess line, as overfilling is a common cause of spool jams.
Match both ends of the line and fold it in half. Ensure the ends are even and straight to prevent tangling during winding. Pinch the folded center point to mark the exact midpoint before installing it into the spool.
Step 4: Anchor and wind the line
Hook the center loop into the anchor notch or starter hole on the spool's middle divider. Make sure it is fully seated before starting the winding process.
Wind both halves at the same time, following the direction arrows stamped on the spool. Keep the wraps tight, even, and placed side by side. Maintain consistent tension throughout, and avoid overlapping, as this can cause jamming.
Keep each line on its own side of the center ridge. Crossing the ridge can create internal tangles and cause sudden feed stoppages. For dual-line spools, wind each strand separately and keep them balanced to ensure even cutting.
Proper winding helps ensure smooth operation, better cutting performance, and longer line life.
Step 5: Secure the ends and reassemble the head
Securing the line ends
Stop winding while leaving enough line to reach and thread through the eyelets, typically a few inches on each side. Keep both tails equal in length.
Snap each tail into the holding notches on the spool rim. This prevents the line from unwinding during assembly. Leave a small section extending beyond the spool so the line can feed properly during operation. Improperly secured ends can cause tangling or backfeeding on the spool.
Reassembling the spool
Thread both line tails through the metal eyelets on the housing. Carefully place the spool back into the housing, ensuring the line passes cleanly through the eyelets.
Position the spool over the spring, then press down to compress it. Snap or screw the cover back into place securely, but do not force it, as this may damage the parts or affect feeding performance.
Pull both line ends outward with a firm tug to release them from the holding notches and restore normal feeding.
Adjusting the line length
Check that the line length is correct. A line that is too short reduces cutting efficiency, while a line that is too long can cause tangling or put extra load on the motor. If needed, trim the line to the proper length using scissors.
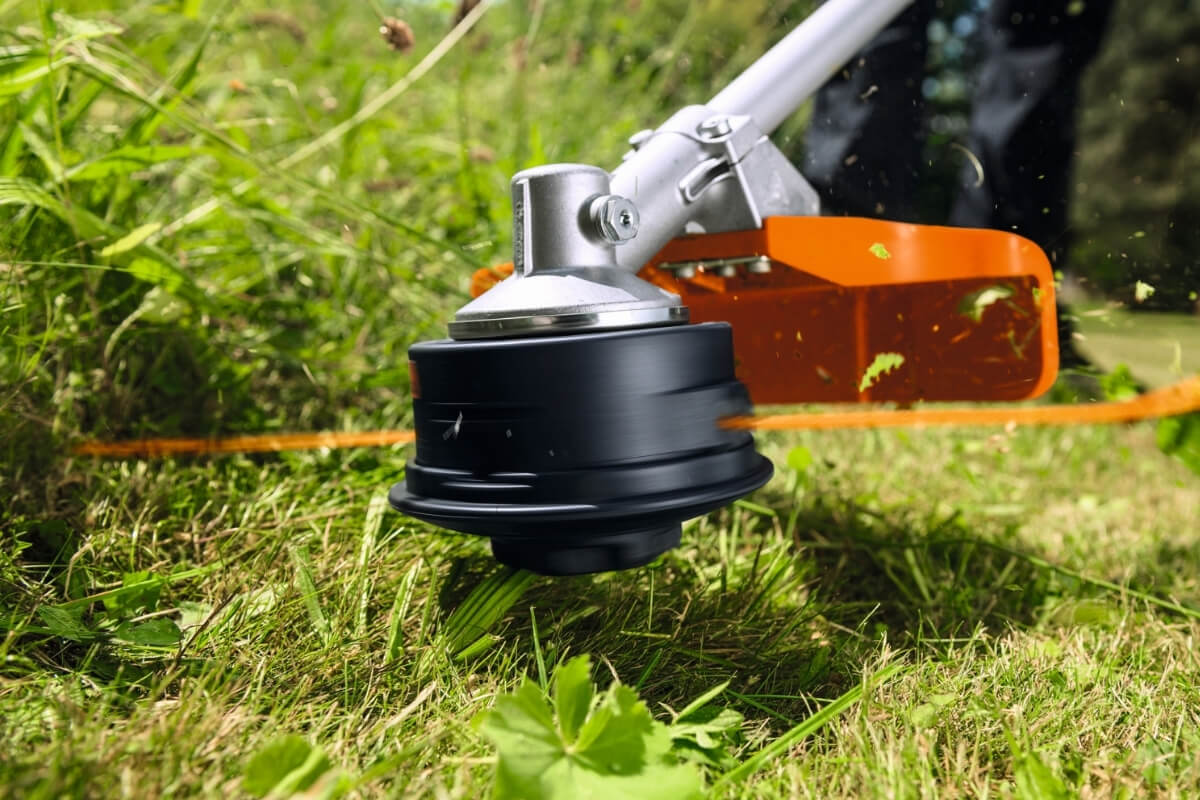
Step 6: Performing a test run
After replacing the brush cutter line, perform a controlled test at operating speed to confirm smooth feeding, correct line length, and balanced rotation before returning the machine to regular use. Test in short intervals to avoid excess line release or tangling.
Reconnect the power first. For gas models, reattach the spark plug wire until it is fully seated. For battery models, reinsert the battery until it clicks into place.
Keep bystanders away and hold the head off the ground before reaching full speed. Tap the bump head on the ground at operating speed. Check for smooth, even feeding from both eyelets, and stop if the head chatters or stalls.
During the test run, monitor motor temperature and vibration. A properly wound line reduces strain, prevents overheating, and helps avoid unnecessary wear on the brush cutter.
BISON brush cutters are factory-tested at operating speed before shipping — if restringing is completed correctly, performance should match the original out-of-box condition.
Common restringing mistakes to avoid
Most restringing failures come down to a small number of avoidable mistakes. Here are the most common ones we see reported across brush cutter models:
Wrapping in the wrong direction: Always wind the line in the direction shown on the spool. Winding the opposite way prevents the centrifugal bump-feed from releasing line properly during use.
Overlapping lines: Avoid crossing or stacking the line during winding, as this causes internal tangles and uneven feeding.
Uneven tension on double-line spools: Keep both lines evenly tensioned. Unequal winding can lead to poor balance and inconsistent cutting.
Not securing the ends in the notches: Failing to lock the line ends in the spool notches can cause the line to unwind during assembly.
Overfilling the spool: Do not overfill. Too much line can bind inside the head, forcing the motor to work harder and increasing feed failures.
Forcing the line or using incompatible line: Never force the line into the spool. Always match the line diameter to the head rating before use or bulk purchase. Oversized line can damage the spool and jam eyelets, while undersized line wears quickly and cuts poorly.
Loose spooling: Keep each line properly wound and on its correct side of the center divider. Crossing lines often results in deep tangles that require full head disassembly.
Maintaining your cutting line
Regular maintenance improves performance, reduces costs, and extends the life of the trimmer line.
Remove debris after each use and wipe the spool cavity so dirt and grit do not affect coil movement. Keeping the spool clean helps prevent feeding problems.
Proper storage
Store replacement line in a cool, dry place away from moisture, dust, and heat, as these can cause warping or sticking. Always keep the spool clean to maintain smooth feeding.
Choose the line shape based on the job rather than price. Twisted, square, or coated lines hold their edge longer in thick weeds and help maintain cutting efficiency.
Regular inspection
Before each use, check for frayed, cracked, or broken lines and replace damaged parts immediately to prevent uneven cutting or sudden breakage. Replace worn or flattened coils early to avoid jams and wasted time.
Follow a maintenance schedule
Heavy users should inspect or replace the line every 10–15 hours of use, while light users can do so every few months. Regular maintenance helps prevent unexpected failures and keeps performance consistent.
Sharing this maintenance schedule with your end customers also reduces warranty claims and return rates — a practical selling point for distributors.
Summary
Restringing your brush cutter is an essential part of regular maintenance that ensures optimal performance, safety, and longevity. The real value is not just replacing the line, but turning stoppages into a quick and consistent maintenance routine.
Using the correct line type and thickness, applying proper winding techniques, and keeping the spool clean help prevent common issues such as line breakage, uneven cutting, and motor strain. When the cutting head is kept free of debris and the correct specifications are followed, wear is reduced and performance stays consistent over time.
Regular inspection and maintenance also save time and money while making trimming tasks faster, more efficient, and less frustrating. With proper care, your brush cutter can continue delivering smooth and reliable performance for years.
For distributors and importers, offering brush cutters that are easy to maintain is a direct competitive advantage. BISON manufactures brush cutters with standardized spool designs, widely available replacement line sizes (1.6 mm–3.0 mm), and multilingual maintenance documentation — reducing after-sales burden for your customers and strengthening your brand reputation.
FAQs
How often should I restring my brush cutter?
Heavy users should restring every few weeks or around 10–15 hours of use. Light users can do it every few months, depending on condition and usage.
Why does my line keep breaking?
Check if the line thickness matches your brush cutter specifications and ensure it is wound correctly. Avoid hitting hard surfaces like rocks or concrete. If breakage continues, consider using reinforced or braided line.
Can I reuse the old line?
This is not recommended. Old line becomes brittle over time and is more likely to break during use.
Does BISON supply replacement spools and trimmer line accessories for wholesale orders?
Yes. BISON offers replacement spools, cutting heads, and compatible trimmer line as part of our parts and accessories range. These can be included in the same order or shipped separately. Minimum order quantities and lead times are available on request.
Share :