break in a generator | introduction, process, tips
2023-11-07
Table of content
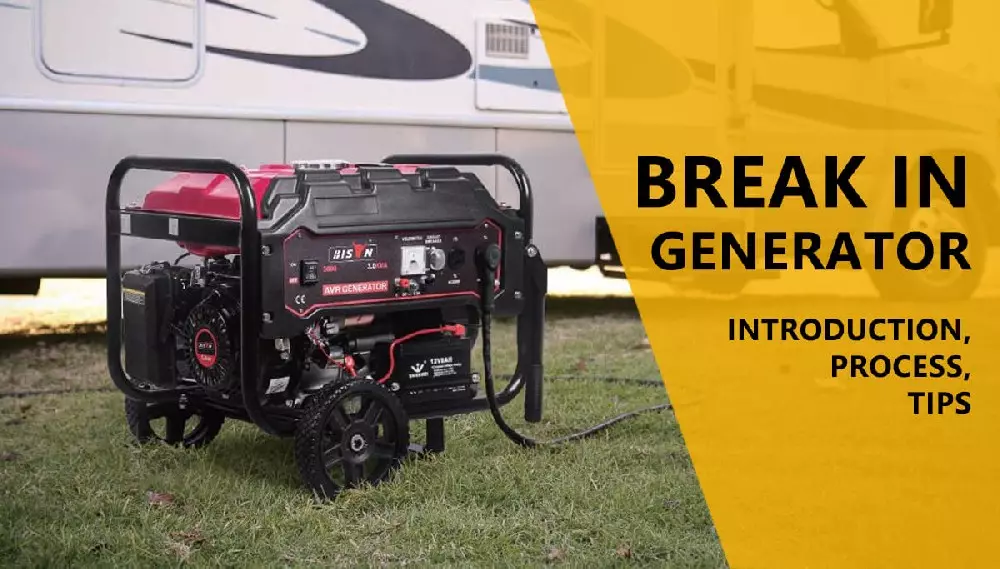
Generators are essential equipment for backup power and off-grid applications. Like all mechanical equipment, generators require a break-in period before regular operation.
Breaking in a generator involves more than just turning it on for the first time. This is an important step in preparing your generator for future tasks, ensuring it runs efficiently and lasts longer.
In this article, BISON dives into the details of the break-in of a new generator. From understanding meaning to executing the process correctly, and even tips on avoiding common mistakes, this guide covers everything you need to know to get your generator off to the right start.
Understanding the Concept of Breaking In a Generator
Breaking in a generator means running the engine through a controlled load sequence so its parts seat correctly before regular operation.
When a generator is assembled, the engine parts are often tight and the surfaces rough. This roughness is not accidental — cylinder walls are intentionally honed with a cross-hatch pattern of microscopic peaks and valleys. Those peaks are designed to be gradually ground down to their optimal level by piston action during the break-in process, not pre-finished to final tolerance at the factory. The break-in period allows these parts to polish themselves by rubbing against each other, ensuring that all components work smoothly together and reducing the risk of premature wear and tear.
Now, you may ask, why is this important? Why can't I just add fuel, start my generator, and get it running immediately? Skipping the break-in process can have serious long-term effects on your generator's performance and lifespan.
Firstly, breaking in a generator ensures that its engine parts are adequately lubricated through proper oil circulation before it takes on heavy loads. Most new generators come from the factory without oil. An attempt to start one, known as a "dry start," will harm the engine's cylinder walls from minute residual metal fragments from the manufacturer and new metal debris from the movement of the piston inside the cylinder. If not removed, these particles can cause significant internal damage over time.
The piston can also grind against the cylinder walls without oil, generating metal scrap and carbon buildup. Carbon buildup over time causes smoke to leak from places where the seals are not tight.
A related risk is blow-by — combustion fumes escaping past an unseated piston into the crankcase. This may not be detectable initially, but it progressively worsens and can eventually become visible as excessive steam or liquid at the crankcase ventilation outlet, making early break-in critical to preventing this cumulative damage.
A properly broken-in generator operates more efficiently and reliably, with consistent power output and reduced risk of premature failure.
The break-in process of a generator: A step-by-step guide
#Step 1: Assembly and Inspection
The first step in the break-in process is to assemble your generator correctly. You should always read the user's manual from the generator manufacturer before starting to break the generator engine properly. Once assembled, inspect the generator for any loose parts, leaks, or other visible defects. Check the oil and fuel filters, spark plugs, and belts. This initial inspection can prevent potential problems during the break-in process.
If your owner's manual lacks formal break-in instructions, treat the absence as a signal to follow the widely accepted standard practice: run the first several hours under progressively increasing loads, starting with no load, before demanding full power output.
#Step 2: Add oil and fuel
Next, it's time to add oil and fuel. For oil, SAE 10W-30 is a widely recommended grade for generator break-in, though you should always confirm the correct viscosity in your user manual. Use conventional oil throughout the full 30-hour break-in period, as switching to synthetic oil before this is complete can interfere with proper ring seating.
For fuel, use fresh unleaded gasoline rated at 87 octane or higher, and pre-treat it with a fuel stabilizer to prevent degradation during the break-in process. Ensure fuel is stored properly to avoid contamination, as failure to use the correct fuel type can damage the engine and void the warranty. It can also cause low pressure and prevent your generator from handling any load.
Pay close attention to ethanol content: gasoline blends containing more than 10% ethanol attract moisture, which can cause corrosion in the fuel system — making ethanol content a critical selection criterion during and after break-in. Check the pump label and choose a blend at or below that threshold whenever possible.
Finally, fill the fuel tank to the proper level before starting the generator, but be careful not to overfill — this could lead to leaks or damage.
#Step 3: Run and load the generator for the first time
Now, you're ready to start your generator. Initially, run it with no load for about 30 minutes. This allows the engine parts to warm up and begin the process of smoothing themselves out.
After the first hour of running, it's worth draining the oil — you may notice shiny metal filings in it, which confirms that the break-in process is actively seating engine components. This is normal and expected.
After the initial no-load period, gradually apply a small load, such as a light bulb or a small appliance, starting at roughly 25–50% of the generator's rated running wattage. Over the course of the break-in period — which spans approximately 30 hours in total — slowly increase the load, keeping it below 75% of rated running wattage throughout. Give your generator time to adjust at each stage, and avoid rushing the process, as doing so can cause damage.
Oil changes are a critical part of break-in. Plan for an oil change after the first hour of no-load running to flush early metal particles, then again at the 30-hour mark once the full break-in period is complete — this second change is mandatory to remove the metal particles seated during break-in. Only after completing the full 30-hour break-in should you transition to full synthetic oil. After that, change the oil every 50 hours of operation. Patience and consistent maintenance through this process set the foundation for long engine life.
#Step 4: Check your fluid levels regularly
Maintaining your generator during the break-in period is crucial. Regularly check the oil level, as new engines can consume more oil. The generator will have a dipstick on the engine side that you can remove to check the level between the high and low lines. Don't run your engine low on oil. This will cause severe damage and engine failure in a very short time.
As for fuel level, most generators will have a fuel level indicator gauge on the tank. Some generators may not have a mechanical display/gauge and an electronic fuel level sensor displayed on the controller. You should be able to cycle through the controller screens to find the fuel level.
Common mistakes and tips to avoid when breaking in a generator
Breaking in a generator requires careful attention, as small mistakes can lead to significant problems down the line. By avoiding these common mistakes, you can ensure a successful break-in process for your generator, setting it up for a long and efficient service life. Here are some common pitfalls to avoid:
Skipping the break-in process: Some people might think that generators are ready to go right out of the box. This misconception can significantly shorten your generator's lifespan. Always follow the break-in procedures outlined in your user manual.
Ignoring the oil level: During the break-in period, generators can consume more oil than usual. Regularly check the oil level and top it up as necessary. Running your generator with insufficient oil can cause severe damage to the engine.
Overloading the generator too quickly: Gradually increasing the load on your generator is crucial during the break-in period.
Keep the load well below the unit's rated capacity in early run cycles — a hard cap of 75% of rated capacity is a widely recommended maximum during break-in. Exceeding this threshold too soon risks serious engine damage.
Poor placement: Always position your generator on firm, level ground with adequate clearance on all sides. Uneven or unstable surfaces can affect performance and safety, particularly during the break-in period.
Not allowing the generator to cool down before refueling: Fueling a hot generator can be dangerous and may lead to accidents. Always let your generator cool down before adding fuel.
Ignoring unusual signs: Pay attention to any unusual sounds, smells, or performance issues during the break-in period. These could indicate potential problems. If anything seems off, stop using the generator and consult a professional.
Not giving the generator rest periods: Just like any machine, generators need rest periods to prevent overheating, especially during the break-in period. Make sure to turn off your generator and let it rest at regular intervals.
Conclusion
Breaking in a generator is an important step that should not be overlooked. It's about preparing it for many years of reliable, efficient service.
By following the steps and tips BISON has outlined in this article, you're not only ensuring optimal performance but also prolonging the lifespan of your generator.
Carry out business cooperation
After reading this article, you now know everything you need to know about properly breaking into a generator. This knowledge demonstrates our commitment to not only ensuring a superior product, but also the longevity and optimal performance of our generators.
BISON are China's leading manufacturer of high-quality generators with extensive industry experience and a deep understanding of products.
If you are a generator dealer looking for a trustworthy and knowledgeable partner, we invite you to consider us. BISON provide our dealers with comprehensive support, including product training, marketing materials, and a dedicated support team ready to answer any questions and resolve any issues.
Don't miss this opportunity to boost your business with our high-quality generators. Please get in touch with us immediately. Your journey to becoming a leading generator dealer starts here.

related blog
Acquire all kinds of knowledge from professional China factory
Generator runs for a few seconds then stop (How to fix?)
Is your generator runs for a few seconds and then stop? Don’t worry, we’ve got you covered. Read this post to know the reasons and also how to fix this problem.
generator low voltage output causes and solutions
So, what causes generator low voltage? How can you identify them? We'll cover all of these causes below to help you use a properly working generator.
charging electric vehicles with generators: A comprehensive guide
BISON will delve into the feasibility of using a generator to charge an electric vehicle, discussing the advantages and disadvantages. We will also consider...
related product
Quote high quality products from professional China factory