How to use an angle grinder?
2025-04-21
Table of content
An angle grinder is one of the most versatile power tools you can own. Angle grinders can be used for a variety of DIY and home maintenance projects, from cutting, grinding, and removing excess material to sharpening, sanding, and polishing.
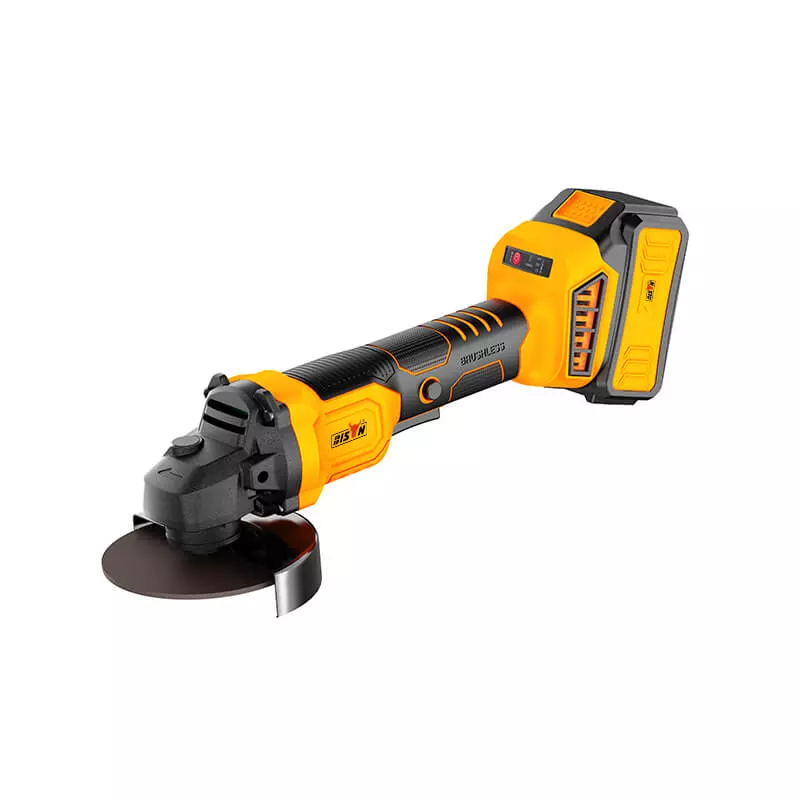
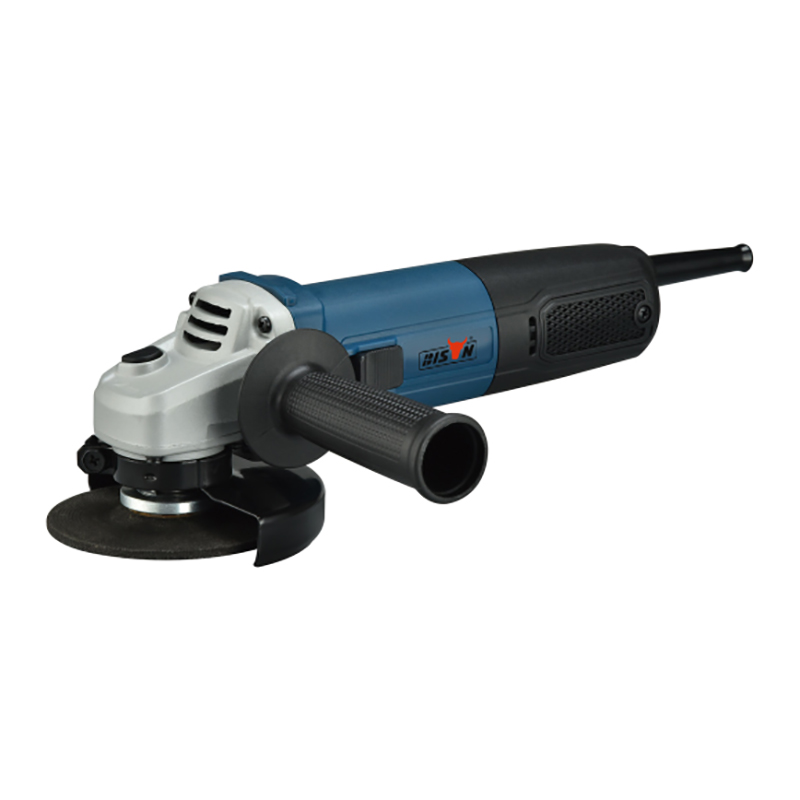
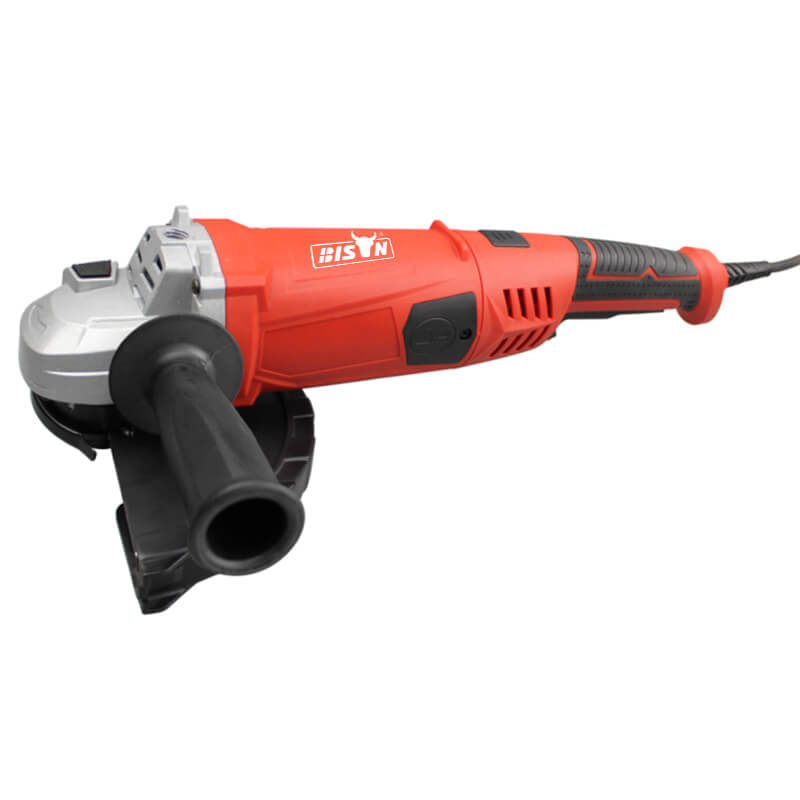
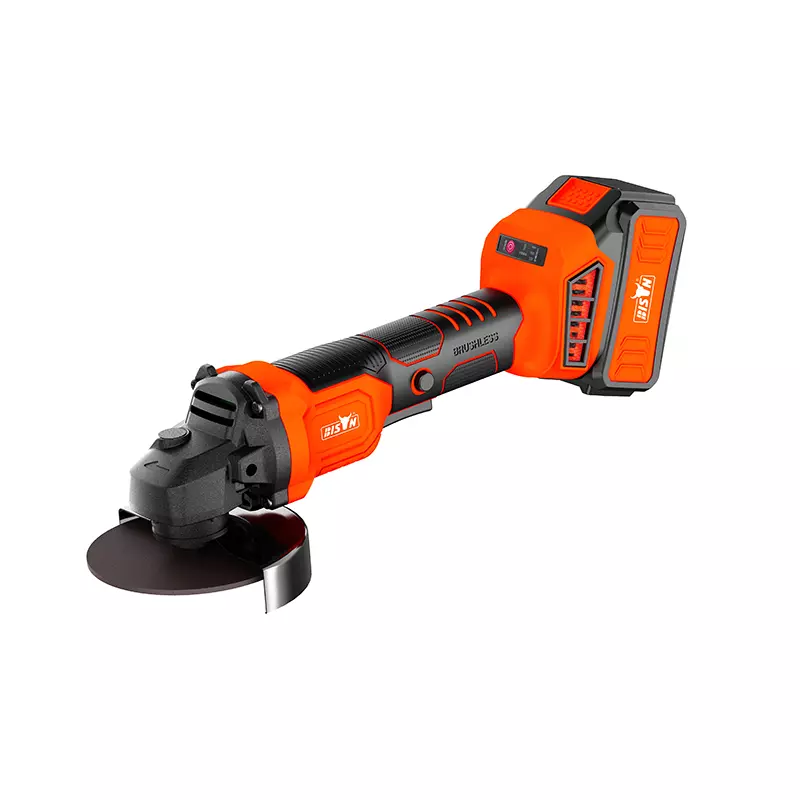
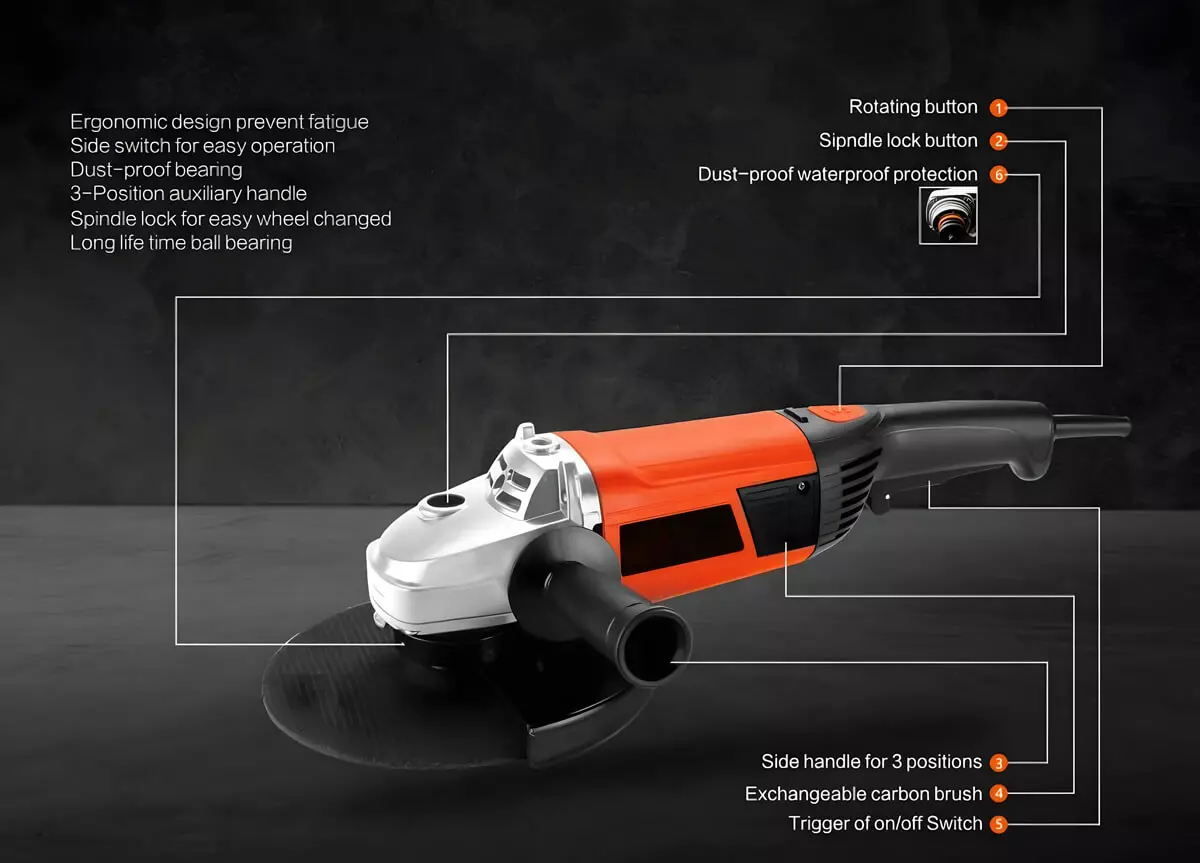
There are a wide variety of angle grinders available on the market, and BISON offers a full range of products for you to choose from. However, with great power comes great responsibility.
We've put together a guide to help you understand how to use an angle grinder and how to operate it safely. Using an angle grinder correctly can significantly increase your productivity and expand the range of projects you can tackle in your workshop or on the jobsite. Let's get started.

Angle grinder safety
Angle grinders rotate at extremely high speeds (typically 8,000-12,000 RPM) and can cause serious injuries if used incorrectly. Following these safety precautions is not optional, but essential to preventing accidents and ensuring your health.
Personal protective equipment (PPE)
Before operating an angle grinder, always wear the following protective gear:
Goggles and face shield: Must be impact-resistant and have side shields to protect against sparks and larger debris.
Hearing protection: Angle grinders produce noise that can damage hearing (typically over 90 decibels). Consider also wearing earplugs or earmuffs when used for extended periods of time.
Hand protection: Wear thick, well-fitting gloves made of leather or other cut-resistant material. Gloves protect against sparks, sharp edges, and hot materials, but should not affect your grip.
Respiratory protection: Use a dust mask for light work or short periods of time. When cutting large areas of concrete, masonry, or other materials that create hazardous dust, use a respirator appropriate for the specific material.
Appropriate clothing: Remember that sparks can ignite or burn your clothing, so wear long sleeves and long pants made of durable, non-synthetic materials (cotton or denim). Steel-toed boots provide protection if tools or materials are dropped.
Prepare your workspace
Clean and organized area: Clear your work area—there may be some flammable materials (rags, paper, wood chips, solvents)! Move anything you don’t want out of the way before you start cutting and ensure adequate lighting.
Secure the workpiece: Always firmly clamp or secure the material you are working on. Always keep a firm grip on the grinder.
Ventilation: Work in a well-ventilated area to prevent dust accumulation. For particularly dusty operations, consider working outside. Do not use it in areas where grain dust or other combustible dusts have accumulated.
How to use an angle grinder correctly?
Using an angle grinder effectively requires the right technique to ensure safety and high-quality results. This section will guide you through the basics of angle grinder operation, from basic operation to specific techniques for different applications.
Correct grip and stance
Always use two hands when operating an angle grinder, regardless of its size. Hold the main handle firmly with your dominant hand, completely encircling it with your thumb and fingers. Use your other hand to hold the side handle for stability and control. Never try to operate an angle grinder with one hand, even at high speed.
Stand to the side of the rotating grinding disc, not in line with it, with your feet shoulder-width apart. Maintain a comfortable, slightly bent posture to facilitate movement and adjustments. Make sure the blade always rotates away from you.
Starting and stopping the grinder
Before starting
When changing the grinding disc/wheel, unplug the grinder (or remove the battery) and make sure the grinding disc is properly installed and tightened. Use a protective guard if your grinder has one.
Startup
Hold the grinder away from your body and any material.
Turn on the power switch with a firm, cautious motion.
Allow the grinder to reach full speed before contacting the material.
Listen for any unusual sounds that may indicate a problem.
Safety shutdown procedure
Remove the grinder from the workpiece before turning off the power.
Release the power switch or trigger.
Hold the tool firmly and away from your body until the disc stops spinning completely.
Only put the grinder down after the disc stops spinning completely.
Unplug the corded model or remove the battery when not in use.
Control Tips
When grinding, determine the best angle between the disc and the workpiece for the best cutting and grinding results, depending on the task. Here are some common examples
Cutting: Hold the grinder so that the grinding wheel is perpendicular (90°) to the material being cut. When cutting, move in a straight line in the same direction as the wheel is rotating, and apply steady, even pressure. For deeper cuts, make multiple cuts instead of forcing the disc in deeper.
Grinding: Hold the disc at an angle of 15° to 30° to the work surface. Then move the grinder back and forth in the opposite direction of the wheel's rotation, making sure not to hit the angle grinder or the disc against other objects.
Polishing: Hold the polishing pad almost parallel to the surface (0° to 5° angle), then use very light pressure and slow, overlapping movements.
Be aware that staying in one position may cause the disc to overheat, which can damage the tool and material. For large surfaces, work in sections with overlapping strokes rather than randomly sanding. If you use the wheel for a long time or find that the grinder is overheating or the motor is overloaded, stop and let it cool.
Pressure
Apply only light to moderate pressure—the grinder is powerful enough to complete most jobs. Too much pressure may cause:
A low motor sound (overload)
A disc that noticeably slows down
Excessive vibration or bouncing
A burning smell from the motor or material
A tool that is too hot to hold
Too little pressure may cause:
Very little material removal
The disc "slides" across the surface
Excessive sparks and no progress
Unnecessarily prolonged work time
You can adjust the pressure for different tasks:
Cutting: Gentle, constant pressure allows the disc to cut efficiently.
Grinding: Apply medium pressure evenly across the surface.
Polishing: Use very light pressure to prevent burning or damaging the surface.
How to use an angle grinder to cut stone, tile, and concrete?
Tile cutters are great tools for making precise cuts on ceramic or stone tile; however, it can be difficult or even impossible to get the workpiece around obstacles such as electrical outlets for precise cuts. You will find it easier to get around these obstacles and cut the tile in a straight line with an angle grinder.
The following guidelines also apply to concrete and stone.
#1. Mark and press: Mark the cut outline on the front and back of the tile. Be as accurate as possible because the more detailed you are now, the better the final result will be. Next, place the tile face up firmly on your workbench. If the tile slips while cutting, you could damage the ceramic or stone tile and possibly injure yourself, so be safe.
#2. Finish the tile: Set up the angle grinder and score the front of the tile along the outline. Cut shallowly, rather than pushing too deep. Aim to finish one-eighth of the way. Use water cooling whenever possible to reduce dust and extend the life of the disc. Allow more time for the disc to do its work on these harder materials.
#3. Finish the cut: Flip the tile over and re-clamp. The back of the tile should now be facing up. Cut from the back of the tile. When cutting, avoid the corners of the tile to get a clean, precisely square corner.
How to cut metal bolts, rebar, and rods?
#1. Support the rod: You need to support the long side of the rod firmly to make sure it is secure. The smallest part of the rod should be the one that falls after the cut. Remember to wear safety shoes before starting this process, just in case something falls.
#2. Cutting: After starting the angle grinder, let the grinding disc spin up to high speed. Make shallow scoring before making full-depth cuts. Use the weight of the tool to do most of the work to drive the grinding wheel through the metal. Then let the short end of the rod fall freely.
How do I sharpen a blade and restore its edge with an angle grinder?
Many household appliances, such as axes, hoes, shovels, and lawn mower blades, can develop rough edges that require grinding with an angle grinder. You can then continue to improve the blade's finish with a grinding file.
#1. Clamp the blade: Use a vise or C-clamp to firmly clamp your chosen tool or blade to your workbench. The arrow on the angle grinder indicates the direction the blade will rotate, so check the arrow before you begin. This ensures that the disc spins away from you, eliminating sparks.
#2. Align the disc: Tip the cutting edge of the blade or tool you are using. Start the angle grinder and let the disc spin at its highest speed. Using minimal force, move the disc steadily over the blade. Move the disc from the handle end of the blade to the tip of the tool. Do not rock the sharpener back and forth. Start at the bottom and work your way up to the tip, repeating this step. Grinding metal generates a lot of heat. Keep a bucket of water and a sponge nearby to cool the blade between cuts.
How do you clean metal using an angle grinder?
An angle grinder can easily remove rust from flaking paint, dry cement, and metals with the proper disc. Besides, many wire brush-style wheels are available for cleaning, deburring, and stripping jobs.
#1. Save your piece of work: Before using your angle grinder, turn off whatever you are working on or on the workshop bench. Ensure the disc is spinning away from you, as the wire brushes can catch and pull back. The angle grinder has an arrow that you may use to determine which way the disc will spin.
#2. Removal of content: Bring the grinder up to high speed and move the wheel gently over the paint, rust, or cement you are trying to remove. Please stay away from sharp or rough edges, not into them. Wire wheels are very durable so you can get into all the crevices and tight spaces.
How do you cut mortar with your angle grinder?
If you have a lot of mortar to remove and feel like a hammer and chisel just won't cut it, get out your angle grinder instead. However, it would help if you prepared for a lot of dust when doing this. Put yourself in a dust mask, close all your windows, and warn the neighbors!
Put on your dust mask and turn up the speed on your grinder. Clean the joint by making two or three 12 mm cuts in the same direction in the mortar. Remain a few millimeters away from the brickwork to prevent potential harm.
Conclusion
As a manufacturer, nothing is more important than the safety of the user. Mastering the use of an angle grinder requires a combination of knowledge, skills, and safety awareness. First, users should be familiar with the specific features and functions of their angle grinder model, including understanding the various attachments and their applications. To guard against potential risks, users should always wear appropriate personal protective equipment, such as gloves and safety glasses. In addition, by following correct operating procedures and keeping tools in good working condition, you can protect not only yourself but also those around you.
As a professional angle grinder manufacturer, BISON have many years of experience serving craftsmen and industries around the world. We consider a variety of safety features when designing our tools. We invite you to ask questions, share your experiences, and provide feedback to help us serve you better.
Share :