simple guide for cleaning generator carburetors
2023-09-19
Table of content
If you've ever marveled at the silent hum of a generator providing power during an outage, you've experienced the magic of a generator carburetor. This small but mighty component is the heart of your generator, regulating the flow of air and fuel into the engine to produce electricity.
However, residue from old fuel can clog up the carburetor, disrupting the balance and affecting your BISON generator's performance. Maintaining a clean generator carburetor is not just about ensuring your generator works when you need it most—it's also about prolonging the life of your machine and getting the most out of your investment.
In this article, BISON will take a closer look at the clean generator carburetor, from acquiring the essential tools to putting the carburetor back together, providing you with all the knowledge required to preserve your generator’s prime state.
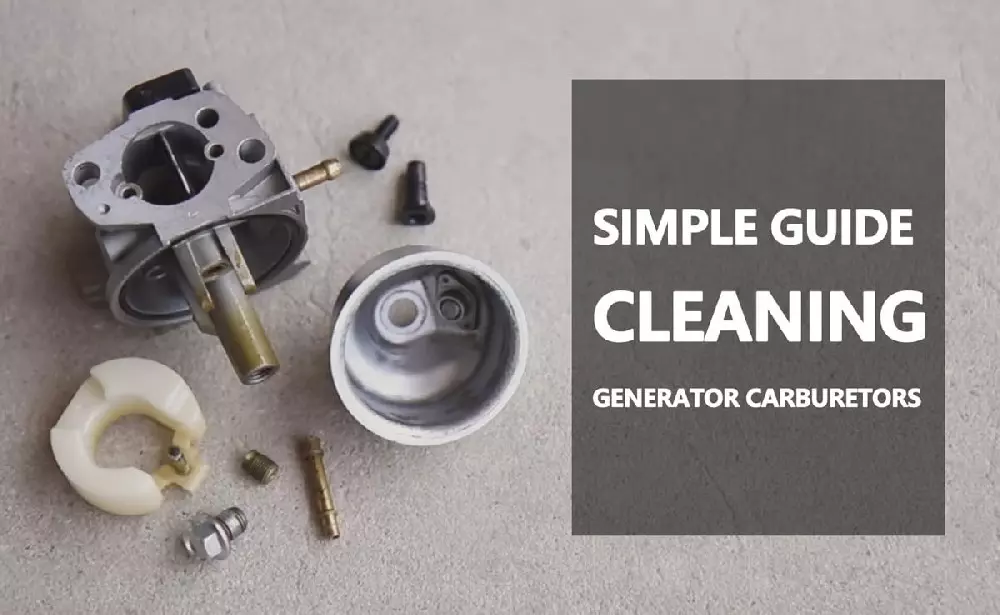
Symptoms of a dirty or clogged carburetor
In the second part of our exploration, BISON will discuss the symptoms of a dirty or clogged generator carburetor. The carburetor, like any other mechanical device, gives off certain signs when it needs attention. Here are some key indicators that your generator carburetor might need a thorough cleaning:
Difficulty starting: If your generator takes several attempts to start or doesn't start at all, a dirty carburetor could be the culprit. Over time, fuel residues can create a buildup that makes it harder for the engine to fire up.
Rough operation: A generator that runs unevenly or vibrates excessively might have a clogged carburetor. This is because the fuel-air mixture isn't correctly balanced, leading to inconsistent combustion.
Stalling: Does your generator run for a short while and then suddenly stop? This could be due to a blockage in the carburetor preventing the fuel from reaching the engine.
Reduced power output: If your generator isn't delivering the power it used to, a dirty carburetor may be limiting the amount of fuel that reaches the engine, thus reducing its power output.
Increased fuel consumption: A clogged carburetor can cause your generator to consume more fuel than necessary. This is a sign that the air-fuel mixture is too rich, meaning there's too much fuel and not enough air.
Black smoke from exhaust: This is another sign of an overly rich air-fuel mixture. The excess fuel is partially burnt and comes out as black smoke from the exhaust pipe.
Foul odor: An unusual smell similar to rotten eggs or sulfur can indicate a dirty carburetor. This happens when the carburetor is not properly mixing air and fuel, which leads to incomplete combustion and produces a foul odor.
Step-by-step Guide to Cleaning Your Generator Carburetor
#Step1: Tools needed for cleaning generator carburetor
In the first step of cleaning generator carburetor, gathering the necessary tools is essential. These tools not only help you do the job effectively but also ensure that you don't damage the delicate parts of the carburetor in the process. Here's a list of what you'll need:
Carburetor cleaner: This is a special solvent designed to dissolve dirt, varnish, and gum that accumulate in the carburetor over time.
Clean rag: You'll use this for wiping away any loose dirt and for drying the carburetor after cleaning.
Small brush: A small brush (an old toothbrush works great) can be useful for scrubbing off stubborn grime.
Screwdrivers and wrenches: Depending on your generator model, you may need these tools to remove the carburetor.
Additional items that might come in handy include:
Compressed air: This is used to blow out any leftover debris after cleaning. Make sure it's moisture-free to prevent rusting.
Drain pan: This will catch any fuel or cleaner that drains out during the process, preventing spills.
Disposable gloves: Carburetor cleaner can be harsh on the skin, so it's a good idea to protect your hands.
Safety glasses: It's always wise to protect your eyes when dealing with solvents and small parts under pressure.
#Step2: Safety precautions to remember
Absolutely, safety should always be the first priority. So, for step two, let's discuss the safety precautions that should be taken when cleaning carburetor:
Work in a well-ventilated area: Carburetor cleaner can emit fumes that are harmful if inhaled. Always work in an open, well-ventilated space to ensure these fumes disperse quickly.
Refer to generator's owner's manual: The manual will provide specific instructions and warnings related to your model. It's crucial to follow these guidelines to avoid damage or personal injury.
No open flames: Carburetor cleaner is highly flammable. Make sure there are no open flames, cigarettes, or any other ignition sources nearby during the cleaning process.
Disconnect the generator: Before you begin, ensure the generator is turned off, cooled down, and disconnected from any power source. This is to prevent accidental startups while working on it.
Handle fuel with care: If your carburetor still has fuel in it, make sure to drain it carefully into a suitable container following local regulations for disposal. First find the oil drain bolt on the carburetor base and close the fuel valve. After unscrewing the oil drain bolt, pour the oil from the generator carburetor and fuel pipe into the container and then tighten it again.

#Step3: removing the carburetor
Step3 involves removing the carburetor, which is a delicate process. It's essential to keep track of all components, especially the smaller ones, to ensure a smooth reassembly later on. It's a good idea to have a small bowl or magnetized tray nearby to hold these small parts so they don't get lost. Here are the steps you need to follow:
Disassemble the generator housing: This will give you access to the inner components of the generator.
Unscrew every screw holding the carburetor in place: Carefully remove all screws attached to the carburetor.
Remove the gasoline lines and any connecting springs with care: These can be delicate, so be gentle when removing them. It might be helpful to take a photo before you start disconnecting, so you have a reference for reassembly.
Removable carburetor: Once all connections are free, carefully remove the carburetor from the generator. Handle it with care to avoid any damage.
Disconnect the air hoses from the carburetor: These should come off easily once the carburetor is removed.
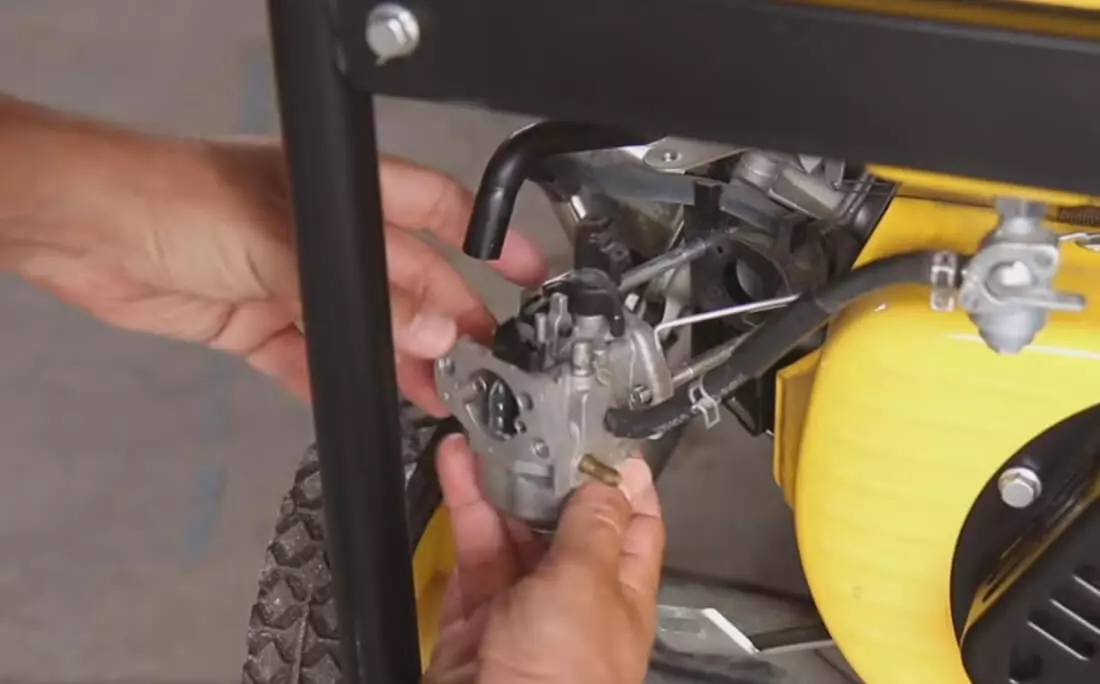
Additional steps that might be necessary depending on your generator model include:
* Remove the throttle linkage: Some models have a throttle linkage connected to the carburetor. If yours does, carefully disconnect it.
* Disconnect the choke linkage: If your generator has a manual choke, you'll need to disconnect this as well.
Remember, every generator is different, so these steps might vary slightly depending on your model. Always refer back to your owner's manual if you're unsure.
#Step 4: Thoroughly clean the carburetor
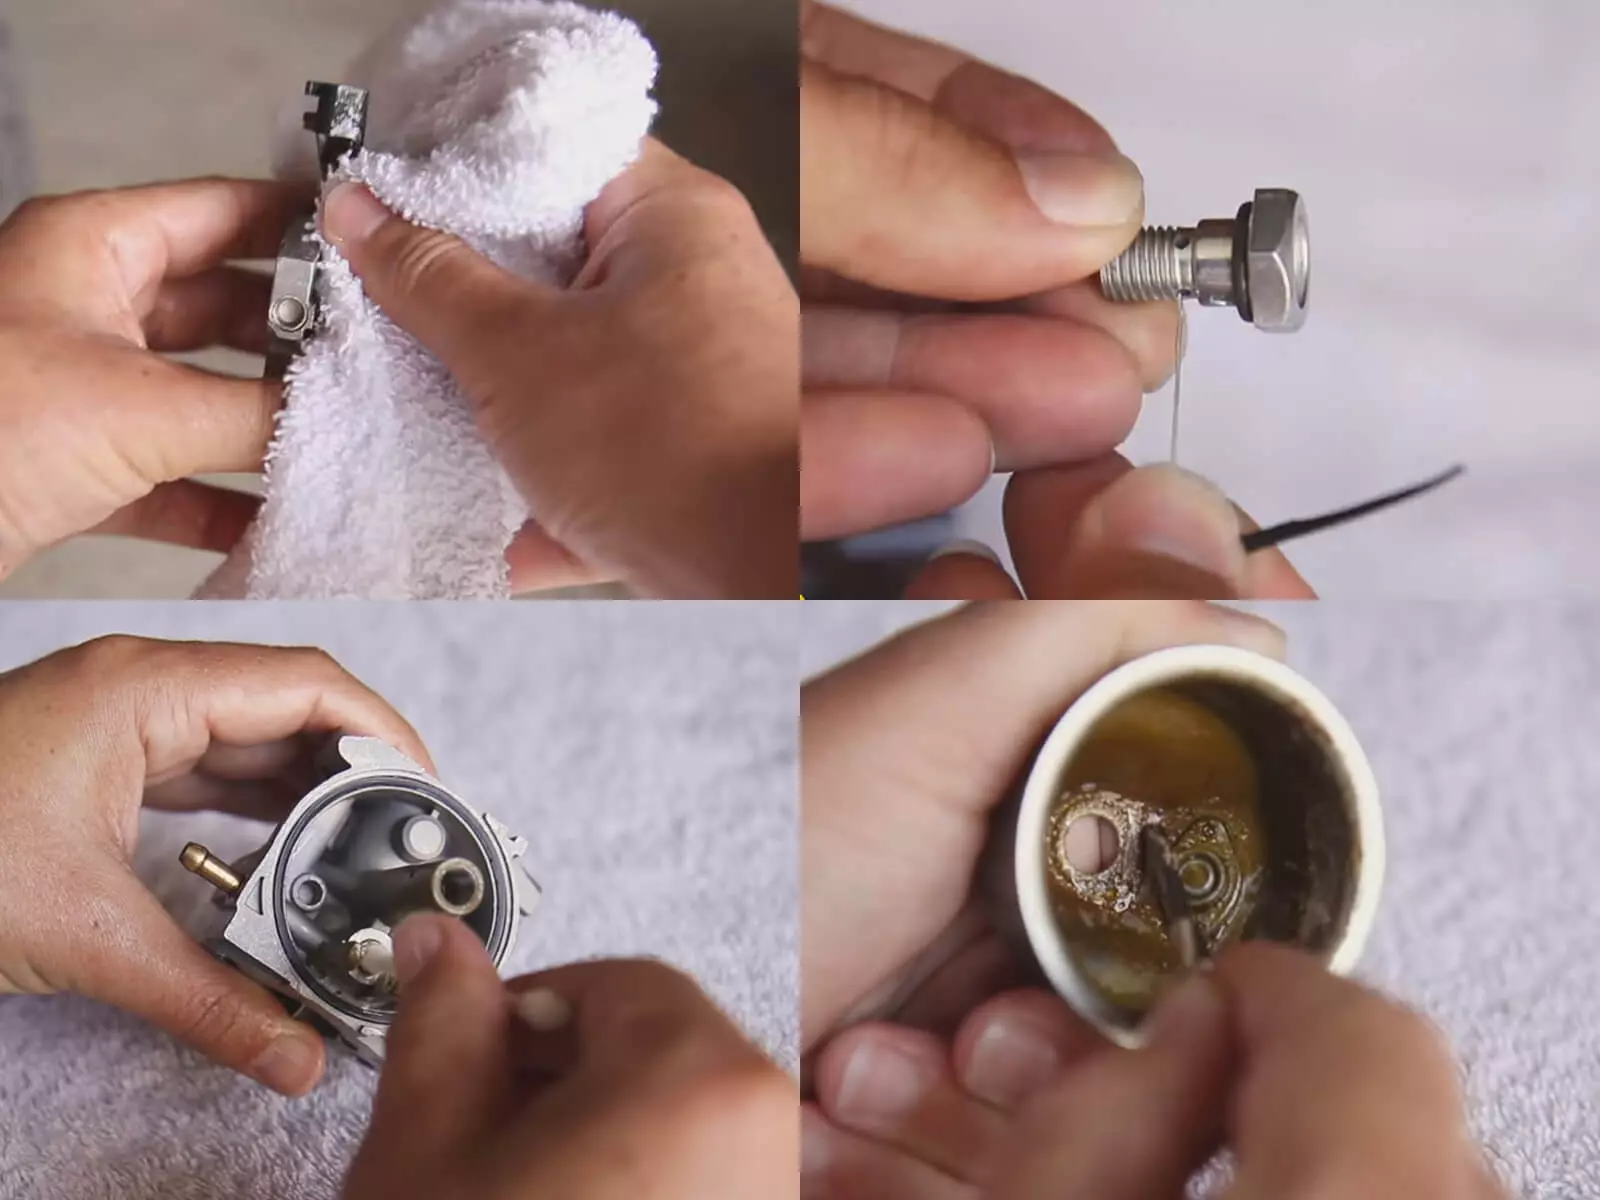
Cleaning carburetor components is a critical step. In the previous step you disassembled the carburetor, now please check whether the carburetor parts are damaged. Watch for any signs of wear, cracks, or damage that may affect your generator's performance. If you find any damaged parts, be sure to replace them before reassembling the carburetor. Using damaged parts may result in poor generator performance or further damage.
Spray carburetor parts with carburetor cleaner: Make sure each part is thoroughly soaked in cleaner. This helps dissolve any dirt that may be stuck to the part.
Scrub away stubborn dirt or debris: Use a small brush to scrub away any stubborn particles. Be gentle with your movements to avoid causing any damage.
Use compressed air: After scrubbing, use compressed air to blow away any loose dirt or debris. This ensures that all the little nooks and crannies are clean.
Dry each part before reassembling: After cleaning, make sure each part is completely dry before reassembling. You can use a dry cloth or towel, and a spray dryer if you have one.
#Step 5: Install the carburetor and reassemble the generator
Of course, after cleaning the carburetor, step five is to install the carburetor and reassemble the generator. Our goal is to restore the generator to its original condition. Take it easy. If you're not sure, check your owner's manual or contact a professional. So how should you proceed?
To begin by reinstalling the carburetor onto the alternator, you will need to carefully align the carburetor with its original position, making sure all connecting rods and washers are placed correctly. Reconnect the gasoline line from the generator to the carburetor and make sure it is tight and has no leaks.
Remember the air hose and any connecting springs you removed earlier, we also took pictures, please reattach them as before. Finally you just need to reassemble the generator housing.
Remember to tighten all screws and bolts to secure the carburetor and housing during this process. But avoid over-tightening, which may cause damage.
After assembly, don't forget to start the generator and test it. See if it runs smoothly. Listen for any unusual sounds and watch for leaks.
Additional Information about cleaning carburetor
How often should you clean your generator carburetor?
The frequency of cleaning will depend on how often you use your generator and the operating environment. If you use your generator frequently in a dusty or dirty environment, you may need to clean the carburetor more often.
Can the generator carburetor be cleaned without disassembling it?
Yes, it is possible to clean the generator carburetor without disassembly, especially if it is not completely clogged. To clean a carburetor without disassembly, you'll need a carburetor cleaning spray and a can of compressed air.
First, you need to use compressed air to remove any loose dirt, dust, debris, grime, and other materials from the surface. Then spray carburetor cleaner into all orifices and nozzles and wait patiently for the cleaner to dissolve the dirt. Finally, use compressed air to blow away any remaining dirt or debris.
If using cleaning sprays and fuel additives doesn't work, you may need to remove the carburetor, take it apart and clean it thoroughly.
At the end
Cleaning generator carburetor is a relatively simple task that will help improve your generator's performance and longevity. By following the steps above, you can easily clean your generator carburetor and keep your generator running smoothly.
At BISON, we are not just a generator factory, we are your partner in your generator business. In addition to offering a variety of high-quality generators, we're committed to helping you serve your customers with comprehensive maintenance guides like this one. Our commitment doesn't end with sales; we believe in providing our customers with the knowledge they need to properly maintain their generators.
Whether you're looking for a reliable generator, seeking maintenance advice or finding the right generator carburetor, we're here to help. We invite you to contact BISON's team of experts for further guidance or to explore our diverse offerings. Contact us today!

