Pressure Washer Relief Valve - Pressure Regulator
2022-01-25
Table of content
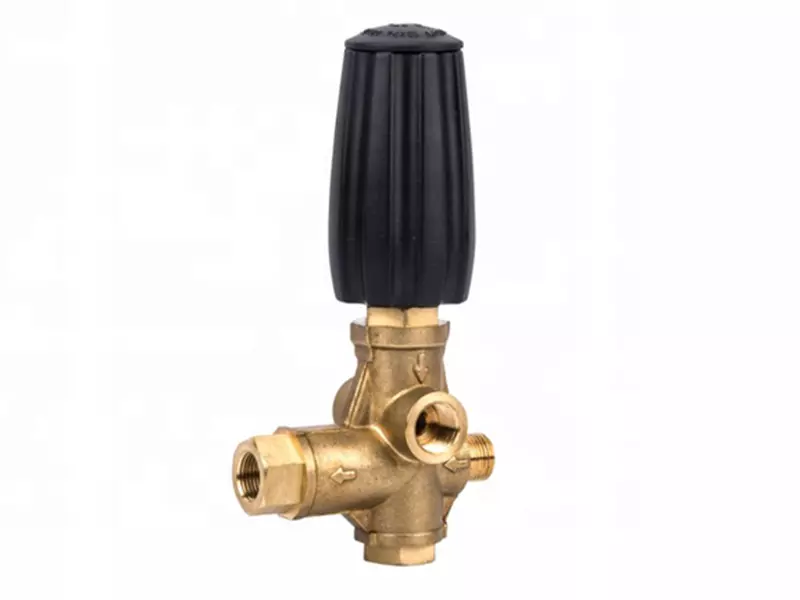
A functional safety device for the unloading valve of a pressure washer. The unloading valve controls the direction of water flow leaving the pump. Positive displacement pumps always deliver water whether the gun is on or off. When the gun is closed, the unload valve redirects the water flow back to the inlet side of the pump. This prevents the build-up of dangerously high pressure and prevents components from failing. Pressure washers are fitted with entrapment pressure unloaders or flow driven unloaders.
The unload valve acts as a "traffic cop" and pressure regulator, directing the flow of water in the pressure washer system. When the water stops flowing from the nozzle of the gun, the unloading valve redirects the water to a safe pressure outlet. When the washer is in "bypass mode", water not released by the gun is diverted back to the inlet side of the pressure pump. It then circulates through the pump and returns to the inlet side of the unload valve. The water is again released through the gun, or redirected to the pump. The process of continuously circulating water through a pump is called "circulation".
"Trap pressure" relief valves are the most commonly used. These valves sense and activate by building pressure on the pump output. The trapped pressure valve activates bypass mode in direct response to the pressure in the hose between the pump output and the gun. They are often simply referred to as "pressure" valves. Pressure spikes are caused when the cycle is interrupted and the trapped pressure valve re-releases water to the gun. Operators should be prepared for a "kickback" effect on the gun or boom to avoid loss of control or injury.
The "Flow Driven" unloading valve responds to interruptions in water flow to the nozzle. These valves detect any reduction in flow from the valve to the gun and activate the bypass loop in response. Unlike trapped pressure valves, no pressure is trapped, so no "backflushing" occurs when the water is re-released. With a flow actuated unloading valve, the operator cannot adjust the pressure by reducing the nozzle orifice size. Flow actuated valves detect flow loss and react by repeating the cycle.
While cycling can prevent dangerous pressure build-up, being in bypass mode increases safety concerns. The moving parts in the pump generate friction and heat that is transferred to the water flow in the bypass. Since no cold water enters the pump during the bypass, the circulating water can quickly heat up to dangerous temperatures.
Most pressure washer pumps can withstand temperatures of 140o F. At higher temperatures, the pump may be damaged. Pump packing, plungers, seals, and even short bypass hoses in external bypass systems can all be damaged. Thermal relief valves provide some protection against overheating build-up. They ensure that cold water is released into the pump when the temperature exceeds 145o F.
Operators are advised to always take care to prevent overheating, regardless of the presence of a heat release valve. The pump should not run in bypass mode for more than 2 to 3 minutes. Squeezing the gun trigger will always interrupt the cycle and introduce new cold water into the system.
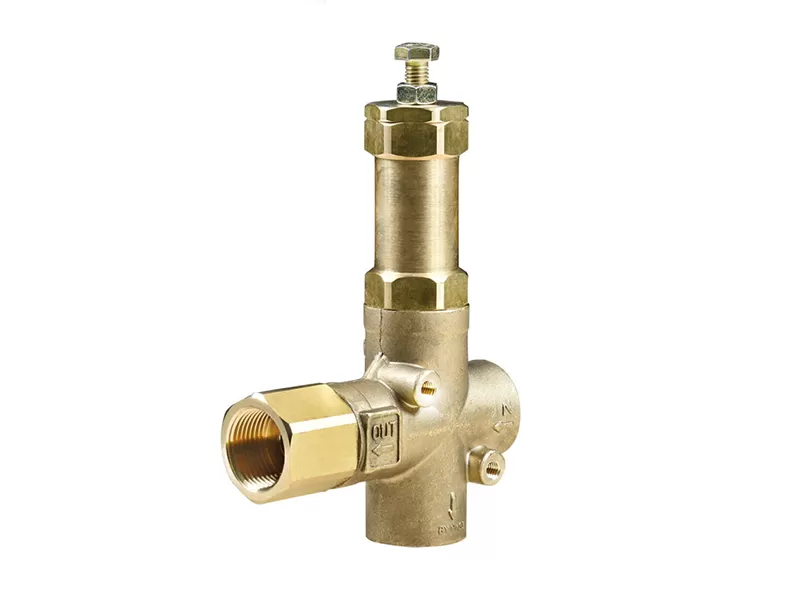
Safety relief valve
The safety relief valve is a weak point in the design of the pressure washer. If the unloader fails, the safety relief valve will open and safely relieve system pressure.
EZ start Unloader
EZ Start Unloader removes pressure from the pump when starting the engine, making the unit easier to start; less damage to the starter motor, especially on electric start engines.
How to set the unloading valve
There are many steps involved in properly setting the relief valve on a pressure washer. We will try to cover the correct procedures for some of the most common unloading valves.
step 1
Make sure the engine or motor is spinning at the correct rpm.
Step 2
Use an appropriately sized washer nozzle for your pressure washer.
Step 3
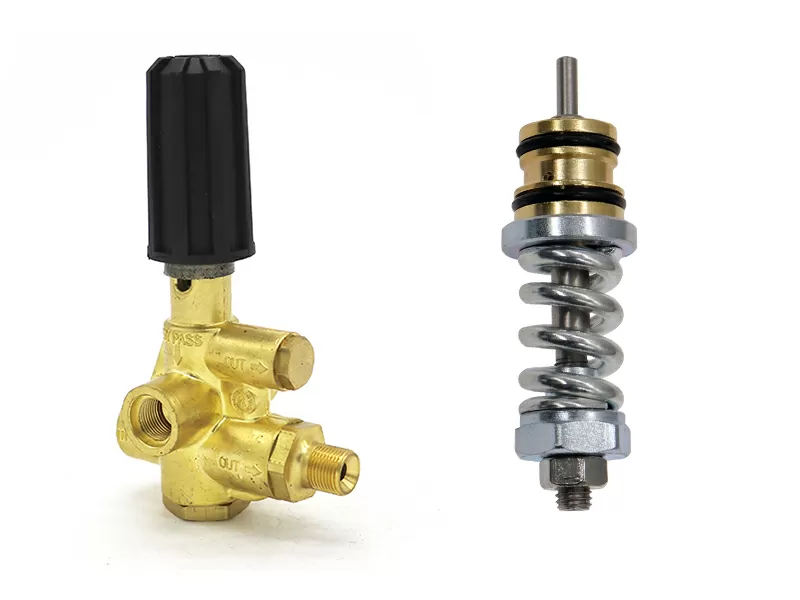
Remove the nylock nut on top of the relief valve and unscrew the black plastic pressure adjustment knob.
Also remove the thin washer and spring. What you should see now is a threaded piston rod with two locknuts.
Step 4
Use a wrench to lock the two nuts together 3 threads from the bottom, then reinstall the spring washer and black adjustment knob.
Clip the gauge assembly between the pump and the high pressure hose so you can see it when you trigger the gun and tighten the adjustment knob.
Turn on the water, trigger the gun before starting the machine, until all the air is expelled from the pump and only the water comes out.
While watching the gauge, pull the gun and start tightening the spring. If the nut is set too low, when you tighten the spring, you will reach a point where you will reach maximum pressure when the gun is engaged, and when you release the gun trigger, the pressure will only increase by about 6 to 9 %. This is where you want the nut to stop on the adjustment knob. If you lower the spring further you won't get more working pressure with the trigger engaged, but when you release the trigger you will get high peak pressure which is dangerous and can damage your pump.
You never want the pressure to increase by more than 10% when you release the trigger. For example, if you set the working pressure to 3500 PSI when you release the trigger, the pressure should not exceed 3850 PSI.
Step 5
To help break the unloader, pull the gun trigger and release it about 20 times. This will help the unload valve not hang up.
Step 6
With the machine running, continue to remove the adjustment knob, washer and spring and move the nut on the piston rod up or down until you find the point where you get the most pressure when you bottom out the adjustment knob on the 2 nuts when you loosen When the trigger is triggered, the gun is engaged and has minimal spikes. Once you find this position, remove the adjustment knob, washer, and spring, tighten the two nuts with a set of wrenches, and replace the spring, washer, and adjustment knob.
Rock the spring down until it bottoms out on both nuts, then recheck pressure and peak pressure. If all is well, screw the nylock nut onto the top of the piston rod until the rod just goes through the nylon and pops the cap on top of the adjustment knob.
Now, when the gun is engaged, you can adjust the pressure by turning the adjustment knob between the two nuts and the top nylock. If you adjust the unloader without engaging the gun, when you do engage the trigger part in the unloader, it will move violently and possibly damage the unloader.
BISON Pressure Washer Relief Valve
Share :
