How to maintain a power tiller?
2025-03-18
Table of content
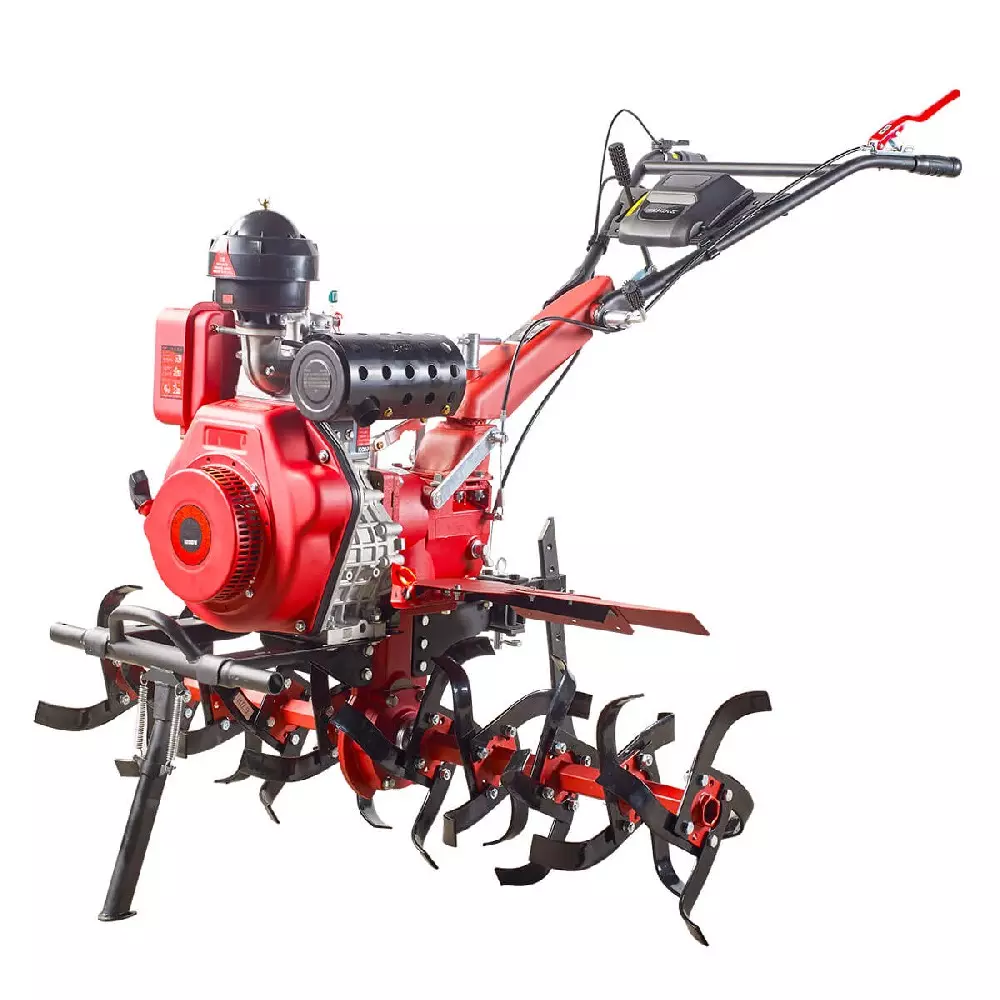
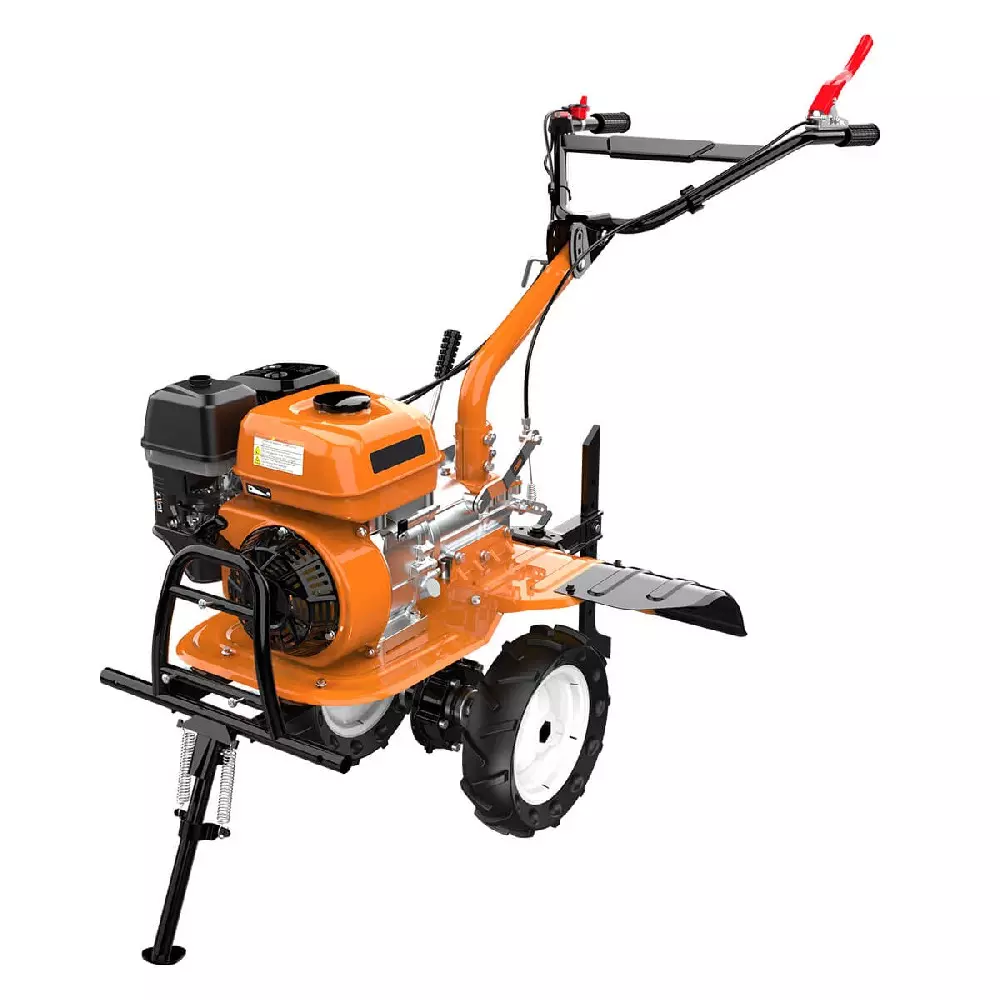
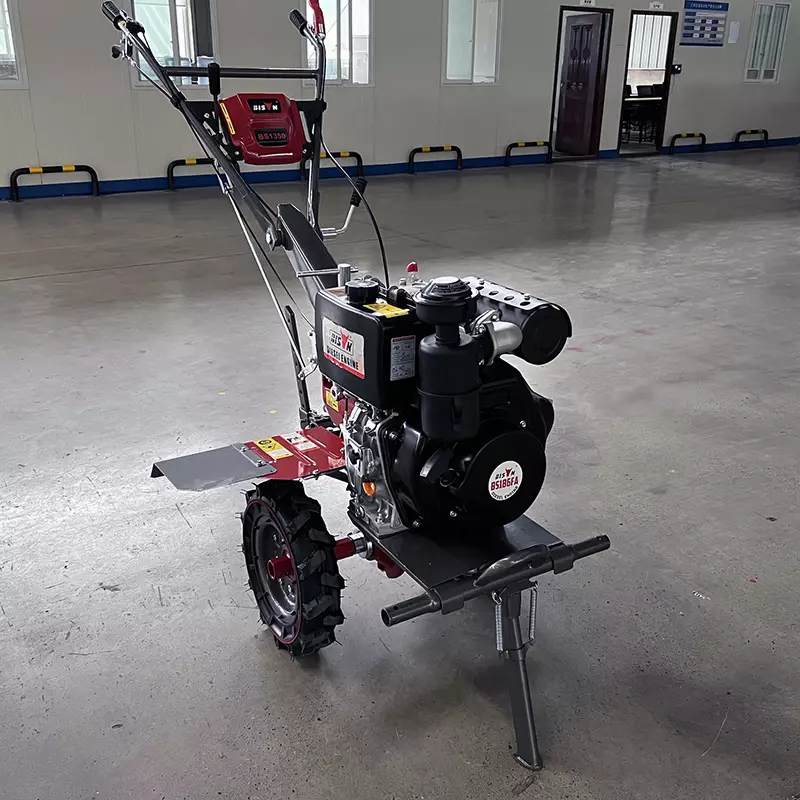
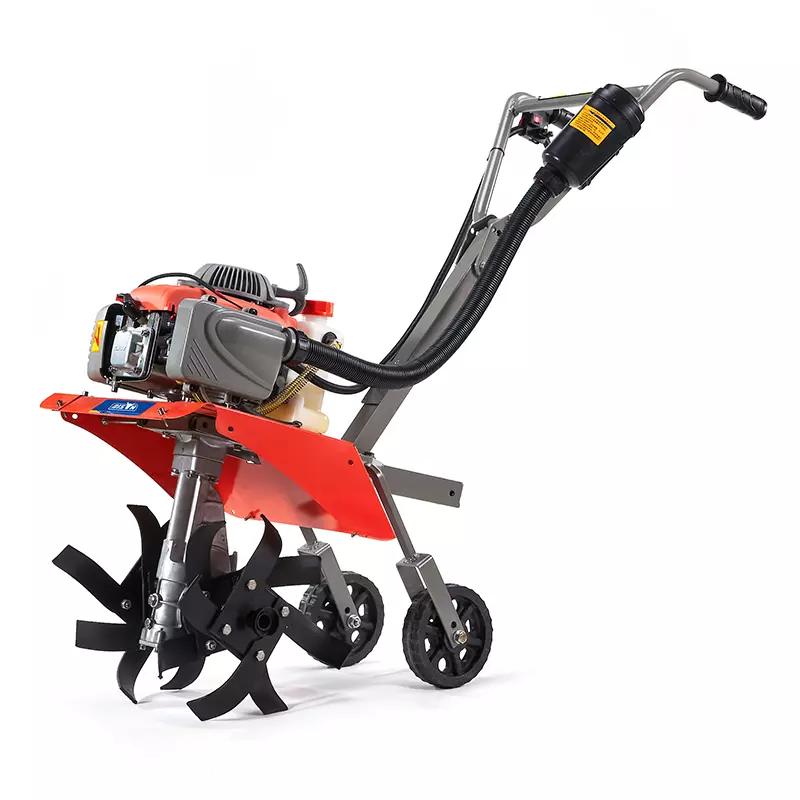
Whether cultivating a small backyard garden or maintaining a large field, a power tiller is essential for any gardener or landscaper. This powerful machine helps loosen the soil, mix amendments, and prepare it for planting. But like any mechanical equipment, a tiller requires regular maintenance to ensure it works efficiently and lasts for many years.
This guide will review the steps to power tiller maintenance, from routine safety checks and cleaning to long-term storage and seasonal recommissioning. Read on for expert advice on maintaining your tiller properly. BISON's strategies will help you maximize performance and efficiency.

Safety precautions before maintaining a power tiller
Safety must be your top priority before beginning any tiller maintenance work. Follow these safety steps to reduce the risk of accidents or injuries.
Turn off power and cool down
Always shut down the engine completely before beginning any maintenance work. If you have just been using the power tiller, allow ample time (30-60 minutes) for the engine and all components to cool down. Severe burns can result if contact is made with the hot engine, muffler, and other parts.
Disconnect the spark plug
If your power tiller runs on gas, always disconnect the spark plug wires and remove the spark plug caps. This simple action will prevent the tiller from starting accidentally. For electric power tiller models, remove the battery instead, since there's no spark plug to unplug. Make it a habit to complete this step before touching any moving parts, regardless of which power source your tiller uses.
Ensure proper ventilation
Perform maintenance outdoors or in an area with good air circulation. Tillers produce carbon monoxide and other harmful gases that can quickly accumulate in an enclosed space. Additionally, when using fuels, oils, or cleaning solvents, proper ventilation helps disperse potentially flammable fumes and reduces your exposure to harmful chemicals.
Wear appropriate safety gear
Durable work gloves to protect your hands from sharp edges, hot surfaces, and chemicals
Safety glasses or goggles to protect your eyes from debris, fuel splash, or dust
Wear hearing protection if you need to run the engine for any tests after maintenance
Closed-toe shoes to protect your feet from falling tools or parts
Securing the power tiller
Before you begin maintenance, make sure the power tiller is on a stable, level surface. For larger units, consider using blocks or stands to prevent any accidental movement during maintenance. This stability is especially important when working on the bottom of the tiller or removing heavy parts.
Maintenance tasks for power tillers
Regular maintenance ensures your tiller remains reliable, efficient, and safe, starting reliably and staying protected during the off-season. Here are detailed guidelines on each of these areas:
Cleaning
Clean your tiller after each use to remove dirt, debris, and plant material. Debris buildup can hamper the tiller's performance and cause corrosion or rust on key components. Consult the manufacturer's manual for specific cleaning instructions, but here are some sample cleaning procedures:
Before cleaning, make sure the tiller is turned off and the engine is cool.
Use a brush or compressed air to remove dirt, mud, or debris from the outside of the tiller. Avoid spraying water directly on the engine or electrical components.
Inspect the tines and remove any soil or plant material stuck between them.
The engine, transmission, and tiller handle can be cleaned with a sponge or damp cloth.
Inspect any metal parts for signs of corrosion or rust and apply a lubricant or rust inhibitor to them.
Allow tiller to dry thoroughly before storing or returning to service.
Lubrication
Lubricate the moving parts of your tiller regularly according to the manufacturer's recommendations, such as every 25 hours of operation or at the beginning of each season. When properly lubricated, friction and wear on moving parts are reduced and important parts last longer. Key areas that require lubrication:
Transmission: Apply grease to the transmission gears and drive shaft according to the manufacturer's recommendations. Models with a sealed gearbox use gear oil and must not be opened for greasing; models with accessible lubrication points should be greased at the points marked in the instructions. Contact after-sales if you are unsure which type you have.
Pinion shaft: Lubricate the pinion shaft bearings with a high-quality grease to ensure smooth rotation.
Throttle linkage: Apply a small amount of lubricant to the throttle linkage to prevent sticking and maintain responsive throttle control.
Clutch, axle joints, and handles: Lubricate applicable clutch mechanisms, axle joints, pivots, and handle adjustment points at the intervals specified by the manufacturer to keep them moving freely and reduce wear.
Check fluid levels
Proper fluid levels are essential for smooth operation and longevity of tiller engines and transmissions.
Engine oil
Locate the engine dipstick, remove it and wipe it clean.
Fully reinsert the dipstick and check that the oil level is between the minimum and maximum marks.
Change the oil every 25-30 operating hours or at least once a season, replacing it sooner if the oil appears darkened or thickened.
Always drain the oil when the engine is warm (but not hot) for better flow.
Use the engine oil grade specified for your BISON model. As a reference: BISON four-stroke petrol-engine tillers use SAE 10W-30 (or SAE 30 in warm climates), and BISON diesel-engine tillers use 15W-40 — viscosity choice depends on the engine and climate.
Dispose of used oil properly at a recycling center.
Fuel
Check the fuel level in the tank to ensure adequate supply and make sure there are no leaks or contamination. Use fresh, clean fuel with the appropriate octane rating recommended by the manufacturer. Fuel system maintenance also includes inspecting fuel lines and the tank for leaks, and periodically draining and cleaning the tank and carburetor to prevent debris from clogging the system.
Transmission oil
If applicable, refer to your dealer's manual for instructions on checking and topping up the transmission oil. Use the recommended transmission oil type and fill to the proper level. Burnt-smelling or visibly dirty transmission oil is a warning sign that requires immediate attention to prevent further breakdown. Other signs of transmission trouble include squealing noises, reduced performance, and difficult gear engagement.
Air filter maintenance
The air filter keeps dust, dirt and debris out of the engine, ensuring clean airflow and optimal combustion. It is recommended to clean or replace the air filter every 25 operating hours, or more frequently in dusty conditions.
Inspection procedure
Locate the air filter housing, usually located near the engine.
Remove the air filter cover and inspect the filter for dirt and debris buildup.
For foam filters: wash with warm water and a mild detergent, squeeze (do not wring), and lightly oil before reinstalling
For paper filters: tap gently to remove loose dirt, replace if visibly dirty
A clean air filter improves engine performance and fuel efficiency while preventing premature engine wear
Dry the filter completely before reinstalling.
If the air filter is clogged, cracked, or very dirty, replace with a new one per the manufacturer's recommendations.
Spark plug inspection
Spark plugs must be in good condition for reliable starting and operation. It is recommended to check the spark plug every 50 operating hours and gap it to the manufacturer's specification.
Inspection process
Remove the spark plug using a spark plug socket and a wrench.
Inspect the spark plug for wear, debris, damage, electrode corrosion, and carbon deposits. Use a wire brush to remove carbon deposits. If the electrode is severely worn or damaged, replace the spark plug.
Measure the spark plug gap using a feeler gauge and adjust according to the manufacturer's recommendations (usually 0.6-0.8 mm).
Use a torque wrench to tighten the spark plug, since many small engine heads are aluminum and can easily have their threads stripped if overtightened.
Tine maintenance
Check the tines regularly for signs of bending, breaking or excessive wear, and make sure all tines are present and firmly connected. Worn or damaged tines can cause uneven tilling and increased engine strain, so it's important to address issues promptly. In most cases, you can sharpen the power tiller's tines to maintain optimal performance. Use a file or grinder to manually sharpen the edges of the tines, ensuring that they are sharp and can effectively break up the soil. Do not remove too much material or change the shape of the tines, as this affects performance and balance. For severely worn or damaged tines, it is best to replace them instead of trying to overhaul them. When replacing damaged or worn tiller tines, torque the mounting bolts to the value specified for your BISON model — typically 60–80 ft-lb (85–108 N·m) for mini tillers — so the tines stay securely and evenly attached."
Belt and chain maintenance (if applicable)
Tension check
Check belt or chain tension before each use
For belts: proper tension typically allows about ½ inch of deflection when pressed. Check tension before each use — press the belt's middle point and tighten the holding nut if tension falls below the ideal threshold.
For chains: Adjust to manufacturer's specifications, typically with about ¼ inch of play
Too tight can cause premature wear; too loose can cause slipping or derailment
Wear check
Inspect belts for wear, cracking, or glazing (shiny, hardened surface)
Inspect chains for stiff links, stretching, or rust
Replace belts and chains at visible signs of wear and, after replacement, check for proper alignment and tension
Lubrication (for chains)
Apply manufacturer-recommended lubricant to each link after cleaning, while slowly rotating the assembly to prevent dirt buildup
Carburetor adjustment
Locate the carburetor adjustment screws near the base of the carburetor. Use a small screwdriver to fine-tune the carburetor settings, ensuring that the air-fuel mixture and idle speed meet the manufacturer's recommendations.
Valve clearance check
Remove the valve cover to access the engine valves. Use a feeler gauge to measure the clearance between the rocker arm and the valve stem.
Loosen the lock nut, adjust the screw to obtain desired clearance, then tighten the lock nut.
After setting the valve clearance, tighten the lock nut, reinstall the valve cover, and verify that the valve operation is normal.
Proper tiller storage guidelines
How you store a tiller when not in use has a significant impact on its condition and lifespan, whether you store it for a few weeks or a few months. Follow the manufacturer's recommendations for fuel stabilization, lubrication, and other storage procedures.
Fuel stability
For short-term storage (less than 30 days):
Fill the tank with fuel and run the engine for 10 minutes with fuel stabilizer added according to the product instructions to ensure the stabilized fuel is circulated throughout the system. Stabilizing the fuel prevents it from going bad and forming gum or varnish deposits that could clog the fuel system during storage.
Long-term storage (more than 30 days):
Completely drain the fuel tank using a fuel shutoff valve or siphon, start the engine until it stops due to fuel starvation to empty the carburetor. Change the oil while the engine is still warm, as warm oil drains more completely and carries away more contaminants. Remove and clean the spark plug, then add a small amount of clean engine oil to the cylinder (use the quantity specified in your owner's manual — it varies by engine size), slowly pull the starter cord a few times to coat the cylinder walls, and reinstall the spark plug.
Lubricate and protect
Lubricate
Apply fresh oil (manufacturer recommended lubricant) to all moving parts according to owner's manual to ensure free movement. Check transmission or gear oil level and top up if necessary.
Rust protection
Apply a thin layer of oil or preservative to metal surfaces (such as pinions, transmission components and exposed metal parts) to prevent rust and corrosion. Touch up any chipped paint areas with manufacturer recommended paint.
Choose the right storage location
Choose a dry, protected area away from moisture, extreme temperatures, and corrosive materials. Then place the tiller on wooden blocks to keep tires or metal parts off the ground and as level as possible to prevent oil or fuel leaks. Avoid storing directly on concrete floors, as this reduces moisture-related rust exposure. If space is limited, some models can be stored vertically but check the owner's manual first as this position is not recommended for all tillers. Then adjust the tiller position to avoid stress on cables, wires, or controls.
Protective cover
Protect it from dust, moisture and UV rays when storing with a suitable cover or breathable tarp. Avoid using plastic tarps or sealed covers, as these can trap moisture inside and cause rust. Also avoid storing the tiller in direct sunlight, since UV light degrades the tires.
If using a generic cover, make sure it is securely fastened but not wrapped too tightly. If stored in a humid environment, consider placing a moisture absorber or desiccant packet near the tiller. If using the original cover, make sure it is clean and not torn or damaged.
Other storage tips
If your tiller has an electric start system, remove the battery and store it in a cool, dry place at around 50% charge
Disconnect the spark plug wire to prevent accidental starts
Slightly loosen the belt tension to prevent the belt from stretching during storage
If all the fuel has been drained, refit the tank cap tightly to keep moisture and debris out of the tank.
Label the tiller with the date it was stored and any maintenance that needs to be done before the next use
Power tiller maintenance schedule by time interval
A regular maintenance schedule makes it easier to keep your power tiller reliable and ready for use. The intervals below provide a practical baseline, but the maintenance schedule specified by the tiller and engine manufacturer should always take priority.
| Maintenance interval | Recommended tasks |
|---|---|
| Before or after every use | Check the engine oil level and inspect for leaks. Remove soil, grass, roots, and debris from the tines and chassis. Check tines, belts or chains, guards, controls, and accessible fasteners for looseness, wear, or damage. |
| Every 25 operating hours | Service the air filter, lubricate specified moving parts, inspect tines and drive components, and clean cooling fins and ventilation openings. Change the engine oil every 25–30 operating hours, or follow the engine manufacturer's schedule if it differs. |
| Every 50 operating hours | Inspect or service the spark plug, fuel lines, belts, chains, pulleys, and other drive components. Check transmission oil where applicable and replace the air filter if cleaning is no longer sufficient. |
| Once per season | Thoroughly clean and inspect the machine. Check the fuel system, drive system, controls, guards, and safety devices. Lubricate specified components and replace excessively worn, bent, cracked, or damaged tines. |
| Annually or before long-term storage | Prepare the fuel system for storage, clean and dry the tiller, lubricate moving parts, protect exposed metal surfaces from corrosion, and inspect major wear components. Check valve clearance if required by the engine manufacturer. |
Power tillers used frequently or operated in dusty, dry, abrasive, or demanding conditions may require more frequent servicing. Always refer to the owner's manual for exact maintenance intervals, lubricant specifications, adjustments, and replacement procedures.
How to put a tiller back into operation after storage?
When the next tilling season arrives, take the following steps to restore your tiller to operation safely and make sure it is ready for use.
Inspect
Remove all protective covers and inspect the entire tiller for signs of damage, wear, corrosion, or leaks.
Check the fuel level and condition. If old fuel was left in the tank during storage, replace it with fresh fuel before starting the engine.
Check the engine oil level with the dipstick and make sure it is within the manufacturer's recommended range. Top up or replace the oil if necessary.
For electric-start models, inspect the battery charge and terminals. Clean away any corrosion and recharge the battery if needed.
Inspect the tines for bending, cracks, excessive wear, or other damage that could reduce tilling performance.
Check belts and chains, if equipped, for proper tension, cracking, fraying, stretching, or other signs of deterioration.
Inspect tires and wheels for damage and correct tire pressure where applicable.
Inspect handles, throttle and clutch cables, controls, fuel lines, and safety devices to ensure they move freely and function properly.
Check the air filter and cooling fins, removing accumulated dust, grass, or debris that could restrict airflow and contribute to engine overheating.
Inspect and tighten or replace any loose or damaged parts, including bolts, nuts, guards, and fasteners.
Test
Before putting the tiller under load, start the engine and let it run for a few minutes. Check its starting performance, throttle response, and overall operation for any issues that require attention.
Listen for unusual noises and watch for excessive vibration, smoke, fuel or oil leaks, or other abnormal operation.
Briefly engage the drive system and tines according to the manufacturer's instructions to confirm that they operate smoothly and respond correctly to the controls.
Once the tiller is operating normally, adjust settings such as throttle speed and tilling depth to suit the soil conditions and the gardening task.
In conclusion
As a professional manufacturer with many years of experience designing and building power tillers, we design tillers for durability and performance—but even the best equipment requires proper care. A well-maintained power tiller will always deliver excellent performance, with engines that start easily, tines that cut efficiently, and controls that respond predictably.
By implementing the maintenance practices outlined in this guide, you can ensure your tiller will provide reliable service season after season. A good habit is to set aside just 15-30 minutes after each use for basic maintenance checks—wiping down the tines, inspecting for debris, and checking key components. This short post-use routine, done consistently, is often what separates a tiller that runs smoothly for years from one that breaks down prematurely.

related blog
Acquire all kinds of knowledge from professional China factory
How to maintain a power tiller?
This guide will review the steps to power tiller maintenance, from routine safety checks and cleaning to long-term storage and seasonal recommissioning.
Front tine vs rear tine tillers
Compare front vs rear tine tillers for your garden: soil type, plot size, power, and digging depth. Find which tiller type best suits your needs.
how to replace tiller tines
Do you need to replace your tiller tines? BISON step-by-step guide shows you how to replace tiller tines safely and effectively
related product
Quote high quality products from professional China factory