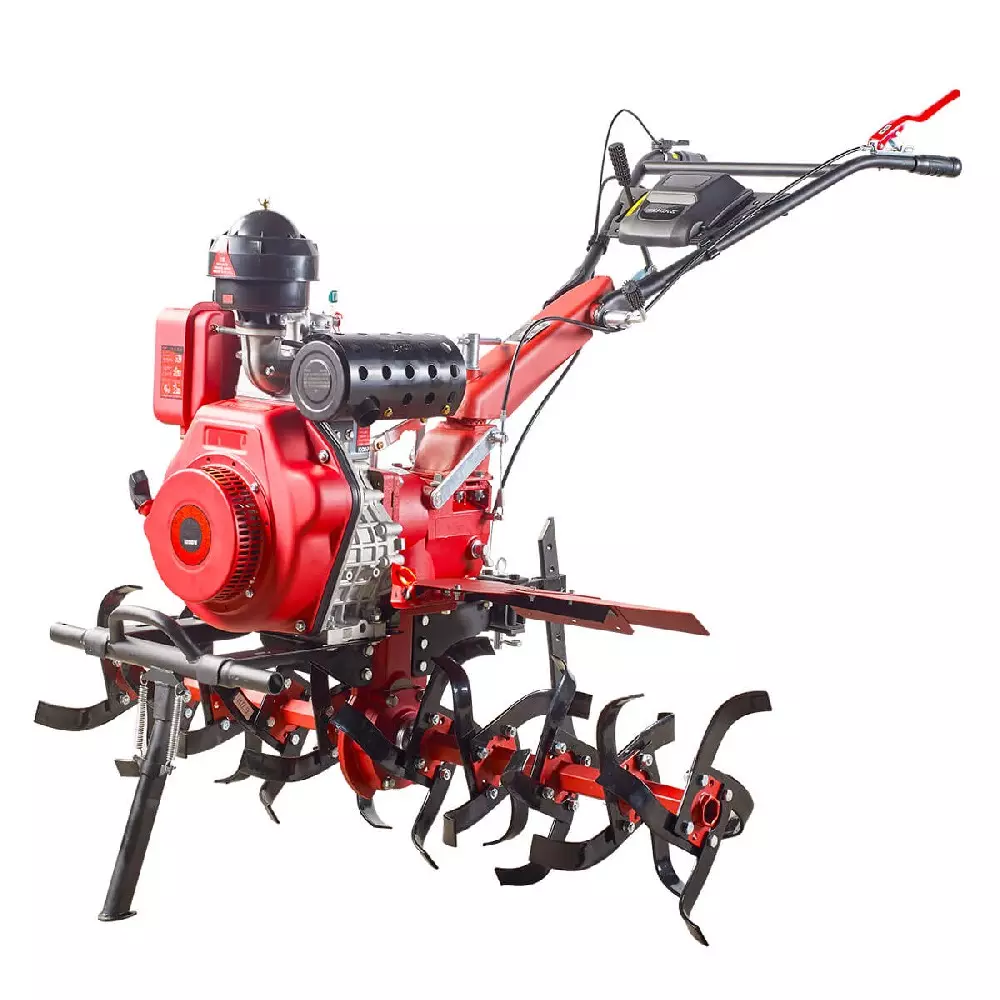
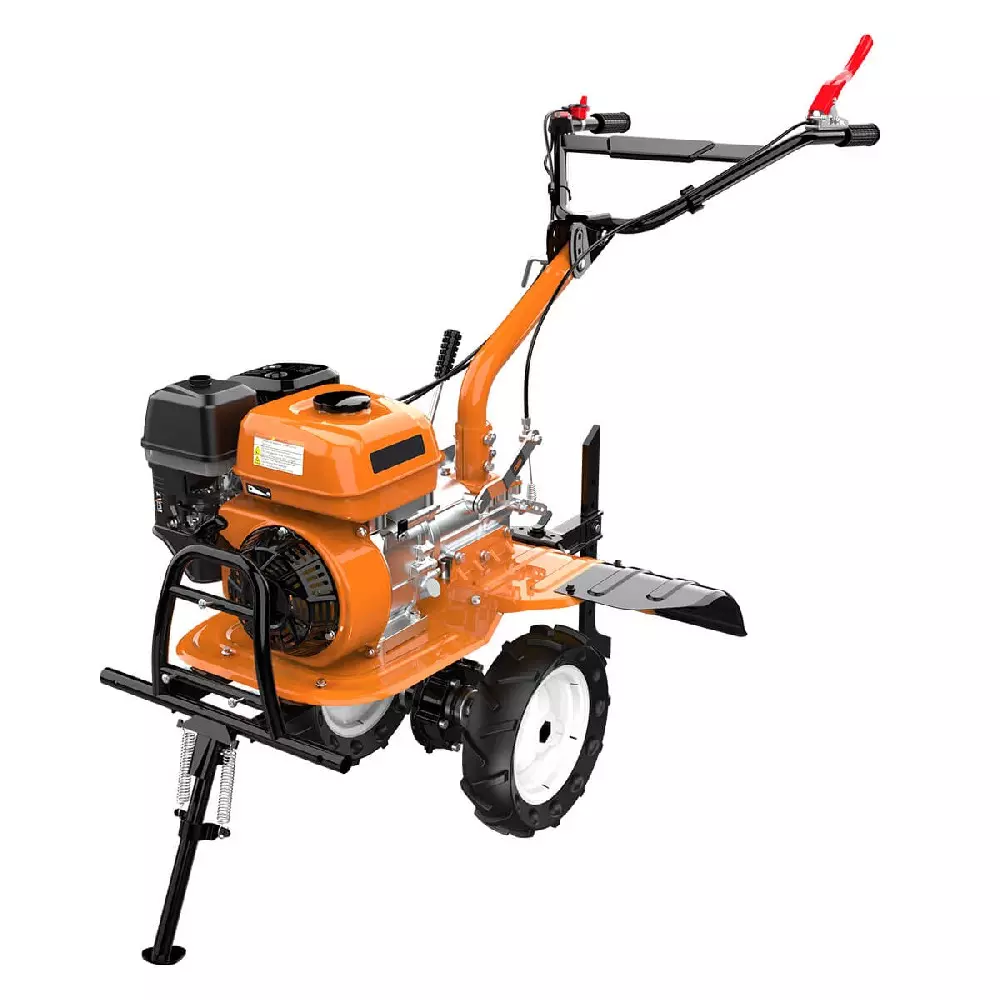
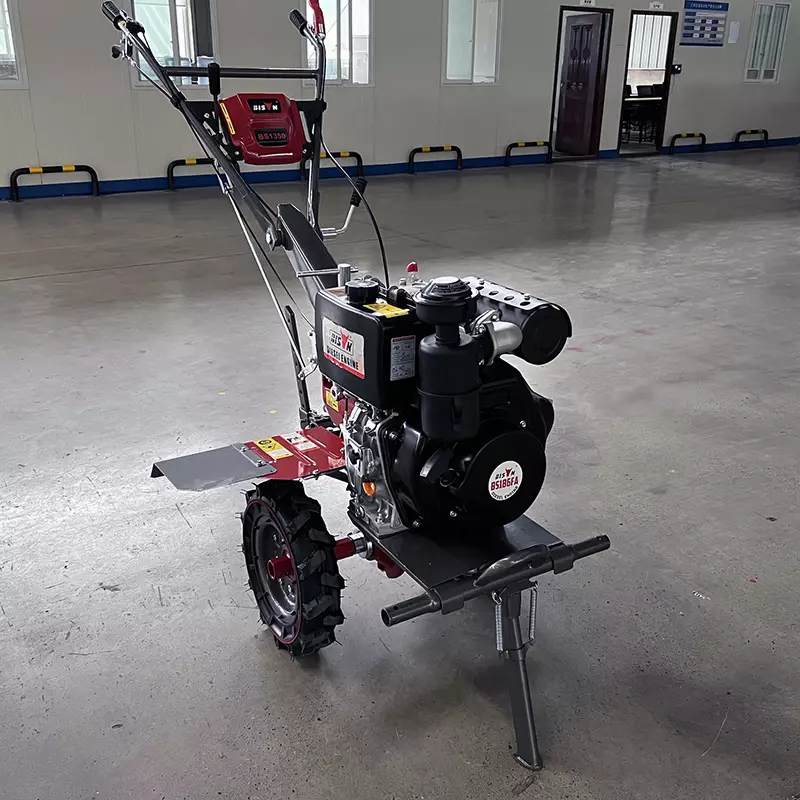
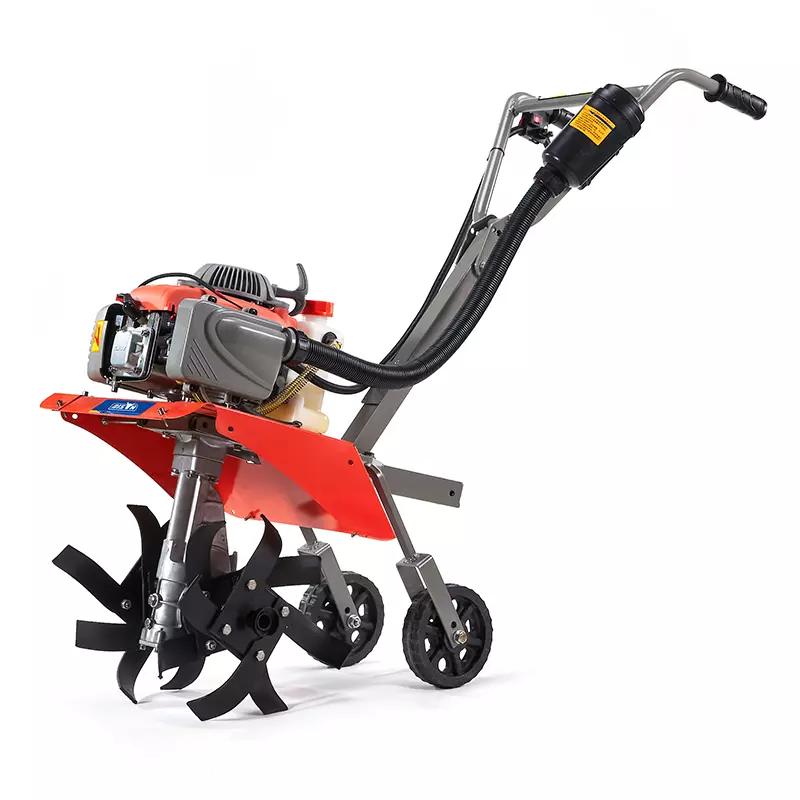
how to replace tiller tines
2025-09-01
Table of content
If you're a professional landscaper or a gardening enthusiast, you know the value of a dependable tiller. The tines are the key parts that dig, loosen, and aerate the soil, making planting and cultivating much easier.
Over time, they can become worn or damaged. Replacing tiller tines not only saves money but also extends the life of your tiller and keeps your garden productive. What are the signs that tiller tines need replacement? Key indicators include:
Visibly blunted tine - An edge worn flat to a width of ¼ to ⅜ inch (approximately 6–10 mm) indicates the tine is no longer cutting efficiently.
Visible damage – Broken edges, cracks, or bent tines reduce effectiveness and cause imbalance.
Reduced soil penetration – The tiller struggles to dig deeply, leaves clumps, or produces uneven results.
Excessive vibration or noise – Damaged or loose tines make the tiller shake and strain other parts.
Engine strain or stalling – Worn tines create extra resistance, making the engine work harder or stall.
Missing or loose tines – Any missing or poorly fastened tines must be replaced or re-secured immediately.
Do you need to replace your tiller tines? BISON step-by-step guide shows you how to replace tiller tines safely and effectively—because safety should always come first.
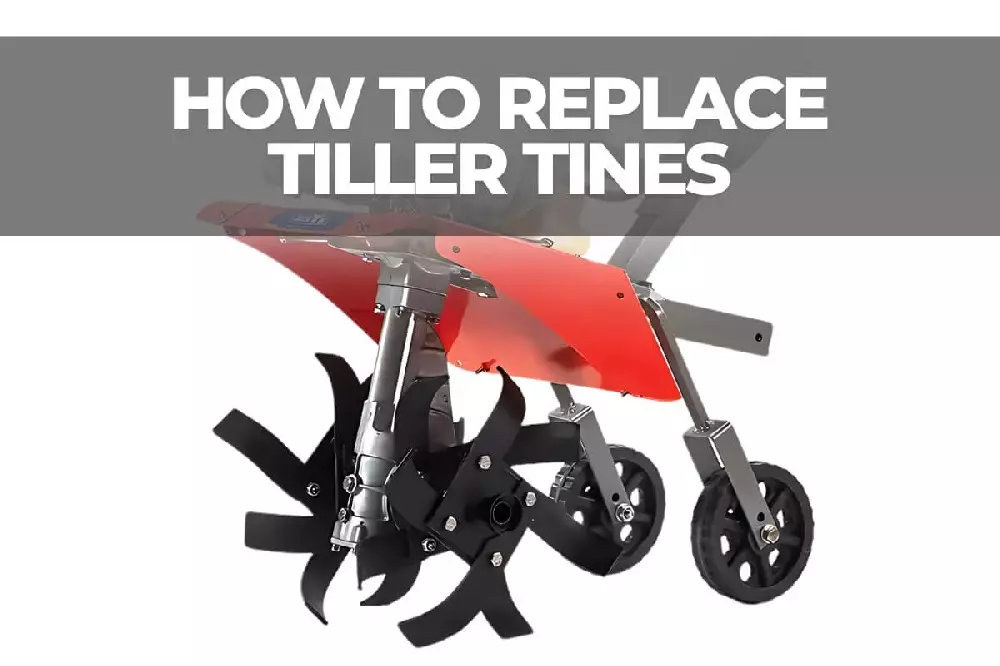
What are tiller tines?
Tiller tines are rotating blades attached to the tiller shaft that break up soil and prepare it for planting. Made of hardened steel, they are built to withstand rocks, roots, and friction but will eventually wear down with use.
Tiller tines are not universal. They come in different shapes and sizes, each designed for specific soil types and gardening tasks. The right choice depends on your tiller model and the type of work you need to do, so always check your tiller manual before replacing tines.
Types of tiller tines
C-shaped tines – curved like a "C," best for light to medium soils.
L-shaped tines – more aggressive, ideal for breaking up hard soil or clay.
Serrated tines – sharp edges designed to cut and mix soil effectively.
Straight tines – suited for shallow tillage and cultivation.
Rear-tines – larger, heavy-duty tines used on rear-tine tillers for tough ground.
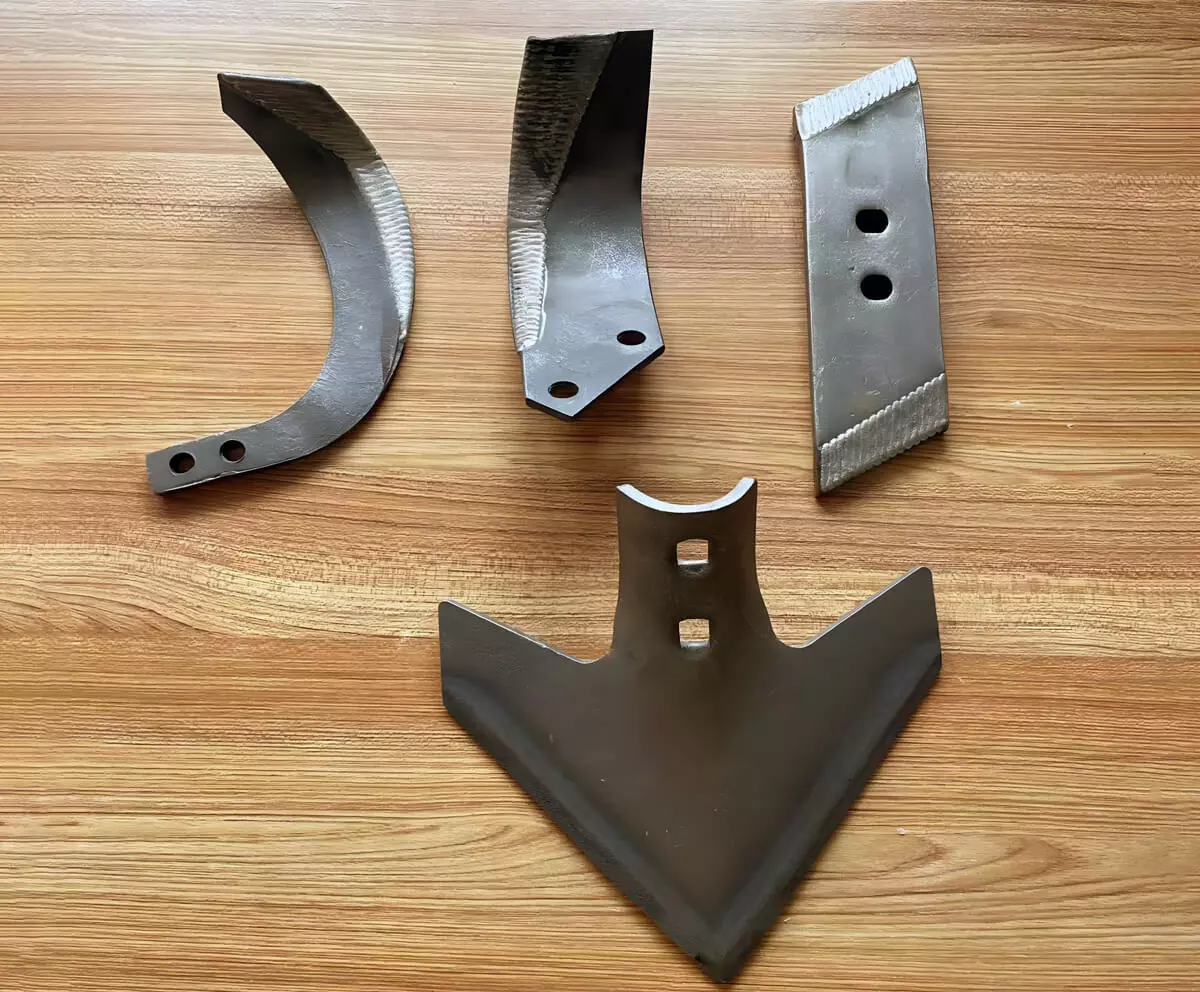
Matching the tine profile to the task — rather than defaulting to a single style — ensures better results across different soil conditions and gardening goals. Wider, thicker wear-resistant tines are well suited for new bed establishment and lawn renovation, where durability under heavy soil resistance matters most. Thinner, knife-like standard tines, however, outperform them specifically for power composting cover crops and garden residues into the soil, slicing through organic material more efficiently.
Tools and materials needed to replace tiller tines
Replacing tiller tines requires only basic tools and proper safety gear. At BISON, we want to ensure you’re fully prepared before starting. Gather the following items:
Compatible replacement tines – always choose the correct type for your tiller model.
Socket wrench set or adjustable wrench – for loosening and tightening bolts.
Screwdrivers (flathead or phillips) – to remove screws or small fasteners.
Pliers – useful for gripping, twisting, or pulling stubborn parts.
Hammer or mallet – sometimes needed to free stuck components.
Protective gloves – to keep your hands safe from cuts and dirt.
Safety glasses or goggles – to protect your eyes from flying debris.
Wire brush or clean rag – to remove dirt, rust, and residue from components.
Step-by-step: how to replace tiller tines
It’s straightforward with the right tools and safety steps. Follow this sequence:
#step1. Prepare the area & stay safe
Park on a flat, stable surface. Ensure the tiller is turned off and the engine is cool.
Disconnect the spark plug (gas) or unplug the power source (electric).
Lay a tarp/newspaper to catch dirt and hardware; keep a small tray for fasteners.
#step2. Access the tines
For gasoline models, turn the fuel shutoff valve off (if equipped) and position the tiller so the fuel cap is uppermost; if the tank is full or the tiller must be tilted significantly, drain the fuel into an approved container first. Then tilt or carefully flip the tiller as your manual recommends. Support it securely with blocks to protect the engine and prevent tipping.
#step3. Remove the tine cover/guard (if equipped)
Remove the bolts/screws with a screwdriver or socket.
Set the cover and hardware aside for reassembly.
#step4. Remove the old tines
Locate the retaining bolts, pins, or clips.
Use the correct tool (socket, pliers, or screwdriver) to remove them.
Slide tines off the shaft; if stuck, tap gently with a mallet, remove any cotter pin securing the assembly, and use penetrating oil if needed.
#step5. Inspect & clean
Check the shaft, hubs, and keyways for wear or damage.
Clean the shaft and hardware with a rag or wire brush.
Replace any worn or damaged bolts, pins, or bushings.
#step6. Install the new tines
Match size, shape, and orientation to the originals.
Slide tines onto the shaft; blades typically face forward in the digging direction (confirm in your manual).
On tillers that use a shear bolt, align the tine shaft hole precisely with the matching hole on the tine holder before threading the bolt — misalignment prevents the bolt from seating correctly and leaves the tine assembly unsecured. On models secured with cotter pins or clips, simply slide the tine into position and reinstall the pin or clip.
Reinsert bolts/pins/clips and tighten securely; use a torque wrench if specified.
Ensure tines are evenly spaced and firmly fastened.
#step7. Reattach the cover/guard
Refit the cover and tighten all fasteners.
Confirm alignment so nothing rubs during operation.
#step8. Final checks & test
Rotate tines by hand to verify free movement.
Reconnect the spark plug or power.
Start and let it idle; watch for smooth rotation and no unusual noise.
Test on a small patch of soil; if you notice vibration, noise, or uneven digging, stop and recheck fasteners and orientation.
Troubleshooting common problems
Troubleshooting common tiller tine replacement issues involves resolving stuck bolts with penetrating oil, correcting wobbling with proper tightening, and cleaning the shaft to ease alignment. Here are common issues and their solutions:
Stuck or rusted bolts
Apply penetrating oil and let it sit for several minutes. Use a wrench, bolt extractor, or gently tap with a hammer to free the bolt. Avoid using excessive force, as it may damage other parts. If the tines are heavily rusted or bonded to the shaft, professionals have the right tools and methods (industrial rust removers, heat treatments) to remove them safely. Seek expert help if DIY attempts risk damage.
Wobbling tines after installation
Recheck that all bolts, pins, or clips are tightened securely. Ensure the tines are correctly oriented and evenly spaced. Replace worn or damaged hardware if needed.
Difficulty aligning tines on the shaft
Clean the shaft with a wire brush to remove dirt or rust. Apply a light coat of anti-seize compound. Align and install tines one at a time, hand-tightening bolts first before final tightening.
When to consider professional help
You should consider professional help if you encounter gearbox or transmission damage, have a complex model with hydraulic controls, or lack specialized tools.
Extensive damage beyond the tines
If you notice serious damage such as:
A cracked or bent tine shaft
Broken or cracked tine mounts
Gearbox or transmission damage
These issues require specialized tools and expertise. A mechanic should inspect and repair the machine to prevent further damage.
Complex or unfamiliar tiller models
Some tillers feature:
Unique or proprietary tine assemblies
Complicated fastening mechanisms
Electronic or hydraulic controls linked to tine operation
In such cases, professional service ensures proper installation and avoids voiding the warranty.
Persistent performance issues after replacement
If problems continue after replacing the tines—like excessive vibration, uneven tilling, or engine strain—there may be hidden mechanical issues. An expert can diagnose and fix the root cause.
Lack of proper tools or experience
Tine replacement can require:
Specialized tools (torque wrenches, pullers, impact drivers)
Working in awkward positions
Strict safety precautions
If you’re uncertain about your skills or don’t have the right tools, hiring a professional will save time and reduce the risk of injury.
FAQs
How often should I replace my tiller tines?
This depends on how often you use your tiller and the type of soil. In rocky or compacted soil, tines may need replacement every 1–2 years. In softer soil with light use, they can last much longer. Tie inspections to specific task milestones:
Before the first use of the season — Check for rust, cracks, or bends that developed during storage. This is your last chance to order replacements before you need the machine.
After every major tilling session — A quick visual check while the tiller is still out takes under five minutes and catches fresh bends or missing hardware before they worsen.
After striking a hard obstruction — Rocks, buried roots, and debris can deform a tine instantly. Inspect all tines on the affected side immediately.
At season end, before storage — Assess cumulative wear across the full set and decide whether replacement before next season makes more sense than replacement mid-season next year.
Can I replace just one tine, or do I need to replace all of them?
It's best to replace tines in complete sets or kits, as tines wear evenly across the set. Mixing new and old tines can cause imbalance, vibration, and uneven tilling, which may damage the tiller. The one exception is center tines used in stony conditions, which can wear faster and may need individual attention.
How to identify the right replacement tine kit
To identify the right replacement tine kit, you must measure the working width, which is the total cutting span of the tine assembly measured tip-to-tip. Measure with tines installed if possible; if replacing a worn-out set, check your operator's manual or the tiller's specification label (usually affixed to the frame or transmission housing).
| Working Width | Typical Kit Application |
|---|---|
| 18 in | Compact/mini rear-tine or front-tine tillers |
| 20 in | Standard front-tine residential tillers |
| 26 in | Mid-size rear-tine tillers |
| 30 in | Full-size rear-tine tillers |
| 33 in | Heavy-duty rear-tine tillers |
Before purchasing, cross-check:
Model number (locate on frame or engine shroud)
Tine count per side
Shaft diameter and bolt pattern
Rotation direction (forward-rotating and counter-rotating tillers use differently curved tines)
Inspect the tip width of current tines before ordering — tines worn to a blunt edge of ¼ in to ⅜ in at the tip confirm replacement is needed and provide a baseline for comparing the new kit profile.
Conclusion
As a professional tiller tine manufacturer in China, BISON highlights the importance of keeping your tines sharp and well-maintained. With the right tools, proper replacement parts, and careful safety practices, you can quickly restore your tiller’s efficiency and ensure your soil is well-prepared for planting. Regular inspections and timely maintenance will extend the lifespan of both your tines and tiller, saving you effort and cost in the long run.
Ready to keep your tiller performing at its best? Explore BISON’s high-quality replacement tines today and give your equipment the reliable power it deserves!

related blog
Acquire all kinds of knowledge from professional China factory
Front tine vs rear tine tillers
Compare front vs rear tine tillers for your garden: soil type, plot size, power, and digging depth. Find which tiller type best suits your needs.
how to replace tiller tines
Do you need to replace your tiller tines? BISON step-by-step guide shows you how to replace tiller tines safely and effectively
how to use a garden tiller?
In this guide, we’ll cover how to use a garden tiller effectively, from choosing the right type to operating it safely.
related product
Quote high quality products from professional China factory