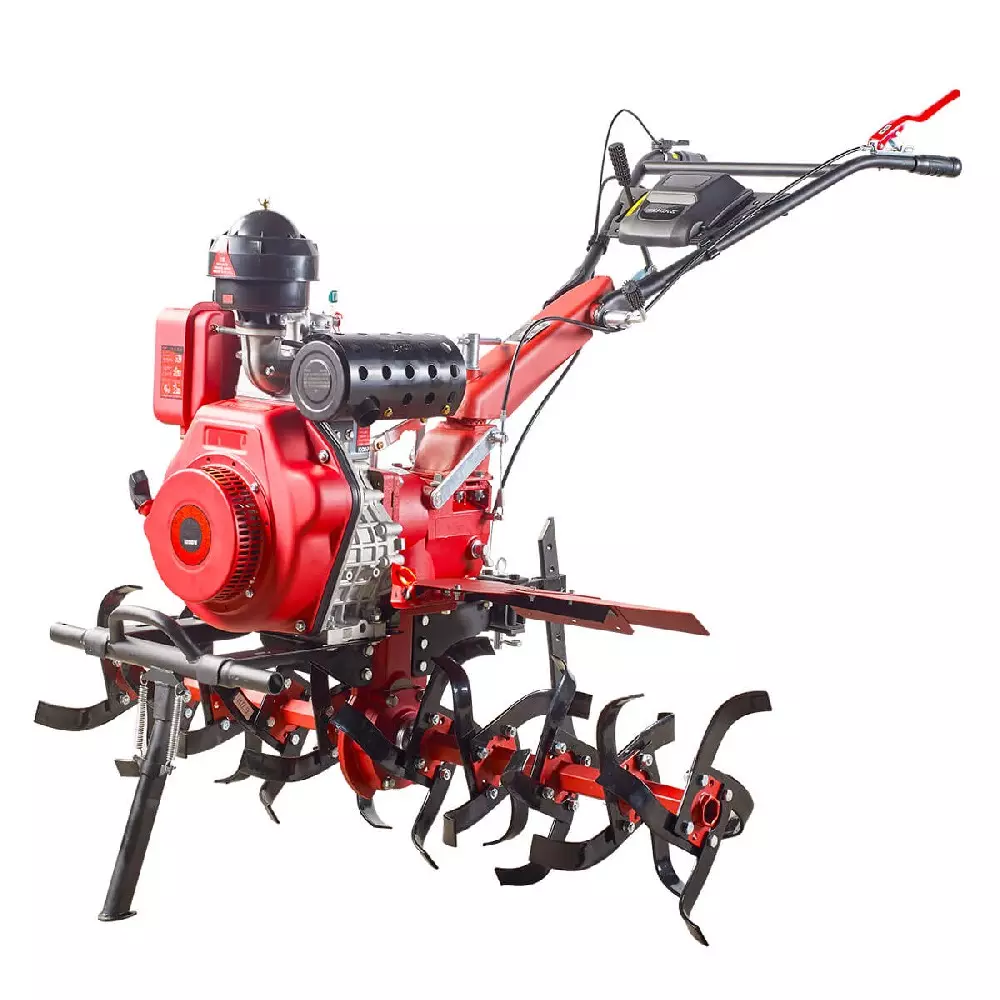
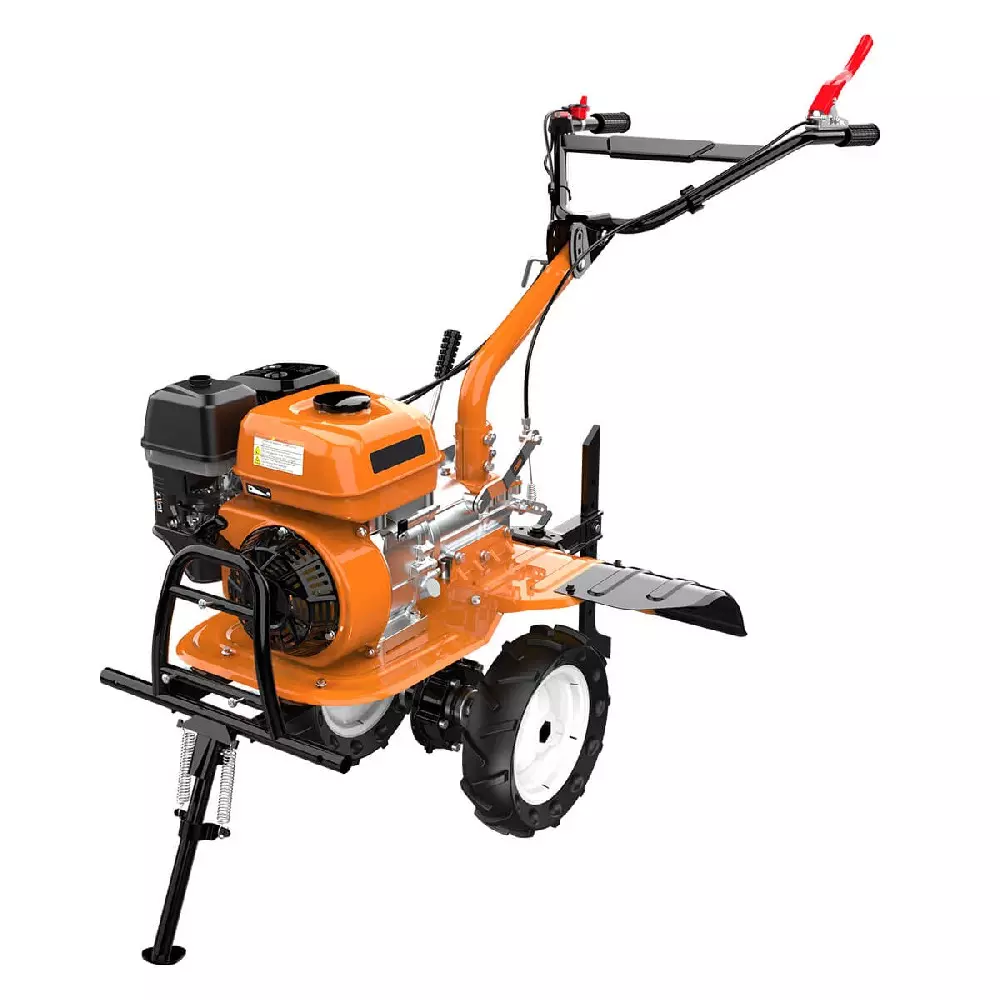
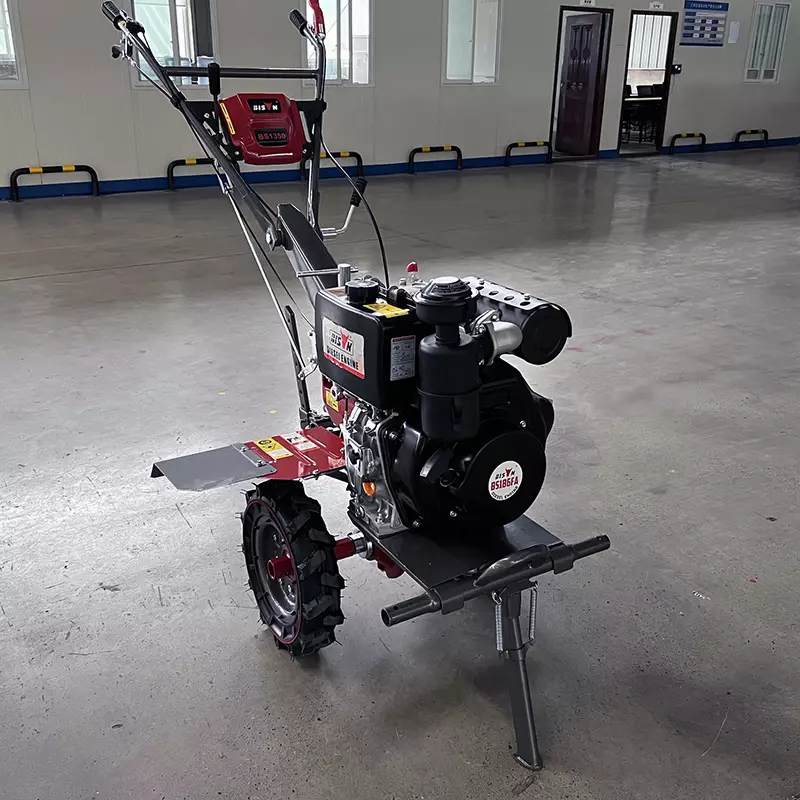
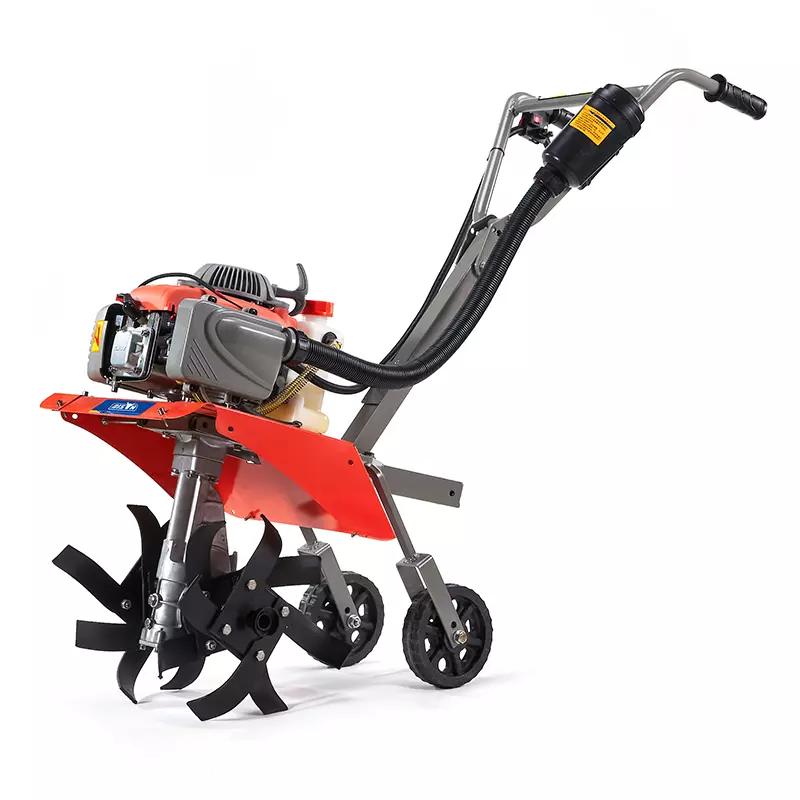
how to use a garden tiller?
2025-08-28
Table of content
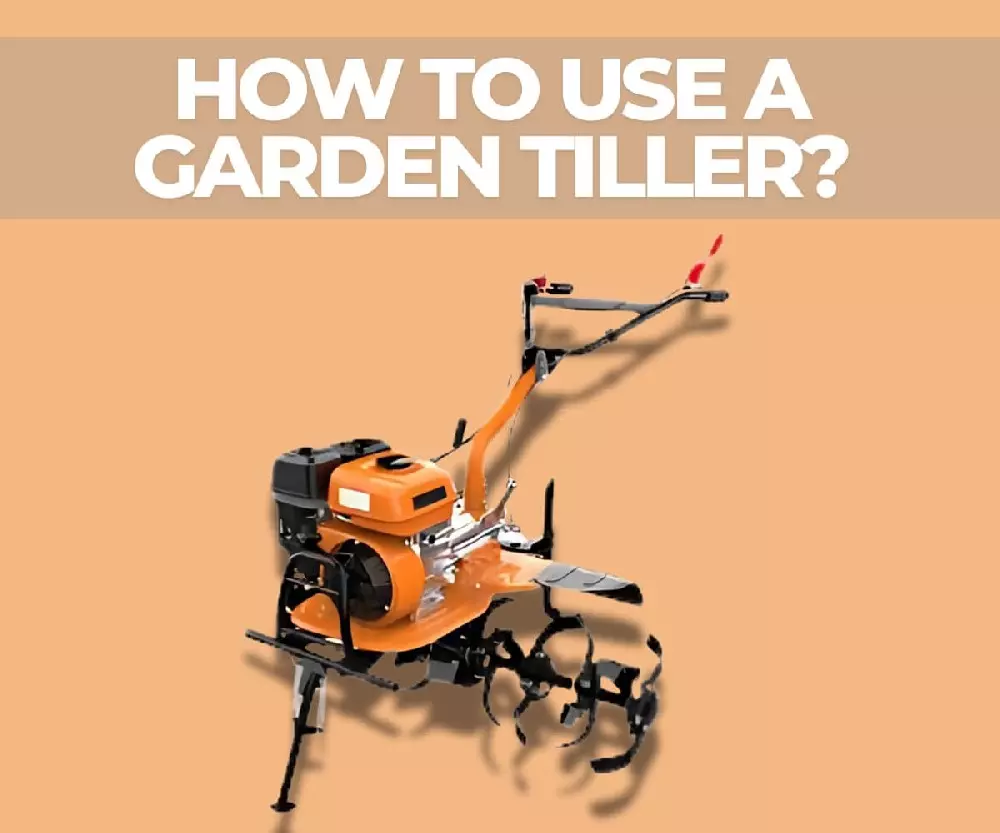
Preparing soil for planting can be time-consuming and labor-intensive when done manually with tools like shovels and hoes. A garden tiller makes the process faster and easier. It breaks up soil, improves aeration, reduces weeds, and creates fertile beds ready for seeds or transplants.
In this guide, we’ll cover how to use a garden tiller effectively, from choosing the right type to operating it safely. With the right approach, tilling can transform your gardening routine and set the stage for healthier plants. So, you can spend less time struggling with the soil and more time enjoying your garden in full bloom.
Safety precautions before use
At BISON, we believe safe operation is just as important as effective operation. Before starting your garden tiller, take time to prepare and protect yourself, your machine, and your work area. Following these essential safety measures will help prevent accidents and ensure smooth, reliable performance.
Wear proper protective gear
Dress for safety every time you till. Wear sturdy, closed-toe boots with good grip, long pants, and durable gloves to protect against blisters, cuts, or abrasions. Safety glasses or goggles shield your eyes from flying debris, and ear protection is recommended when operating gas-powered tillers.
Read the operator’s manual
Even if you’ve used a tiller before, each model may have unique controls, features, and requirements. Review the manual carefully to understand operation, safety warnings, and maintenance instructions.
Inspect the machine
Before starting, check the tiller for loose bolts, bent or worn tines, cracked parts, or signs of fuel/oil leaks. Ensure safety guards are properly attached and the machine is in good working order.
Fuel or charge properly
For gas-powered tillers, refuel in a well-ventilated area with the engine off and cool. Use the recommended fuel type, avoid overfilling, and always check oil levels with a dipstick or indicator before use. For electric models, ensure the battery is fully charged or that outdoor-rated extension cords are in safe condition.
Ensure safe operating conditions
Only use the tiller on stable ground—avoid muddy soil, overly wet conditions, or steep slopes, which can reduce control. Make sure the work area is well lit, and keep children and pets away while operating.
Pre-tilling preparations
Here are the key steps to get your garden area ready:
Clear debris from the area
Walk through the space and remove rocks, branches, roots, sticks, and other objects that could damage the tines or be thrown by the machine. Don’t forget to move garden tools, hoses, or wire out of the way. For safety, locate any underground utilities or irrigation lines before you start. If the soil surface is uneven, use a rake or leveling tool to smooth it out—this helps the tiller run evenly and prevents uneven tillage depth.
Check soil moisture with the squeeze test
Soil that’s too wet will clump, while soil that’s too dry will be dusty and hard to work. Grab a handful and squeeze it:
If it crumbles easily, it’s ready.
If it sticks together in a ball, it’s too wet—wait a few days.
If it falls apart like dust, water lightly and let moisture soak in before tilling.
Mark the tilling path or bed boundaries
Use stakes and string to outline your area. This helps you maintain straight rows, avoid over-tilling, and keep planting zones separate from walkways.
Running the garden tiller
Whether gas-powered or electric, following correct starting steps and tilling techniques will help you work safely and achieve a fine, even soil texture.
Starting the tiller
Gas-powered models: move the tiller to your work area before starting. Open the fuel valve, set the choke (for cold starts), and engage any safety controls. Pull the starter cord smoothly until the engine starts, then adjust the choke and throttle to the proper operating setting.
Electric models: for corded tillers, plug into an outdoor-rated extension cord and secure the connection. For battery-powered units, ensure the battery is fully charged and properly installed. Start the motor using the on/off switch or button.
Adjusting depth and speed
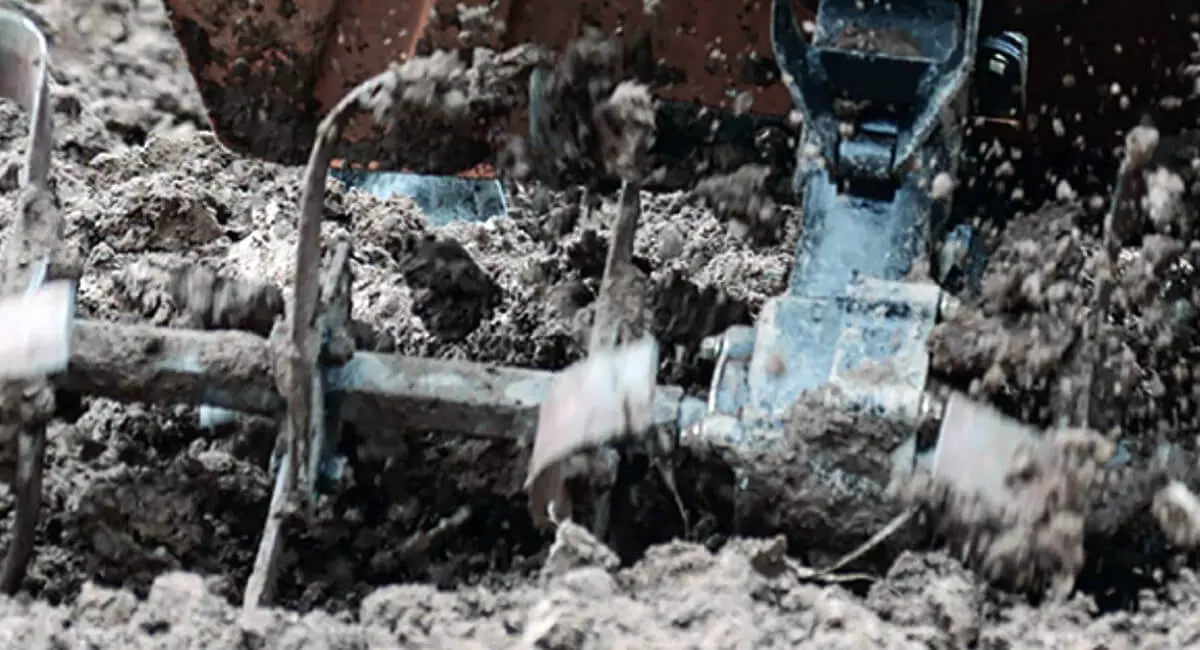
Most tillers include a lever or knob to set tine depth. Start shallow on compacted soil and gradually increase depth with each pass to avoid straining the machine. For most vegetables and flowers, 6–8 inches is ideal, while shallow passes are fine for weed control or light cultivation.
Begin slowly, especially in new or rough soil. Increase speed gradually as conditions allow, maintaining steady control for consistent tillage.
Cultivation techniques
Straight passes with overlap – move in straight lines at a steady pace, overlapping each pass slightly for even coverage and consistent depth. Avoid sharp turns that can stress the machine.
Cross-hatch method – for a finer texture, till once in one direction, then again at a right angle. This breaks up clumps and blends soil amendments more thoroughly.
Avoid wet soil – never till overly wet or muddy ground, as it compacts and damages soil structure while straining the tines. Wait until soil crumbles easily when squeezed.
Handle obstacles safely – if you hit rocks, roots, or other obstructions, release the throttle and let the tines stop completely before clearing. Never remove debris while the tines are spinning.
Dealing with specific soil conditions
Different soils respond differently to tilling.
Clay soil: Work the soil when it is slightly moist—never overly wet, which causes clumping, or too dry, which makes it hard and resistant. Tilling breaks up compacted clay, improving aeration and drainage. Mix in organic matter such as compost or aged manure to enhance fertility and structure.
Sandy soil: Till sandy soil a bit deeper (6–8 inches) to ensure amendments are evenly incorporated. Since sandy soils lack nutrients and water-holding ability, add compost, peat moss, or aged manure to improve structure, moisture retention, and fertility.
Compacted soil: Use a rear-tine tiller or a model with large, heavy-duty tines for maximum digging power and stability. Break up the soil gradually, starting shallow and increasing depth with each pass until the compacted layers are loosened.
After tilling
BISON believes the work you do right after tilling sets the stage for healthy plant growth and strong yields. Freshly tilled soil is loose, aerated, and nutrient-ready—making this the perfect time to prepare for planting.
Level the soil
Use a garden rake to break up clumps and smooth the surface. A level bed ensures seeds are planted at the right depth, promotes even germination, and allows water to soak in evenly.
Add soil amendments
Incorporate organic matter such as compost or aged manure into the tilled soil. Spread it evenly with a rake or garden fork, then mix thoroughly. This improves fertility, structure, and microbial activity, creating a healthier environment for plant roots.
Water lightly if needed
If the soil is dry, give it a light watering to help settle it and prepare for germination or transplanting. Avoid overwatering, as soggy soil can compact easily and wash away nutrients.
Plant promptly
Plant seeds or seedlings soon after tilling to take advantage of freshly loosened, nutrient-rich soil. Follow proper depth and spacing guidelines to ensure the best start for your crops.
Care for your tiller
Clean after use: with the power source disconnected, remove soil and debris from the tines and housing using a stiff brush or damp cloth.
Perform basic checks: inspect for worn tines, loose bolts, or leaks. For gas-powered tillers, check the oil; for electric ones, examine cords or batteries.
Store properly: keep the tiller in a dry, sheltered space. Drain fuel from gas models or remove batteries from electric ones for long-term storage, and cover to protect from dust and moisture.
Common mistakes to avoid
A few simple errors can turn tilling from a garden booster into a soil problem. By avoiding these common mistakes, you’ll protect your soil, your plants, and your tiller.
Using the wrong type of tiller
Not all tillers are suited for every job. Mini-tillers work best for small, loose beds or light cultivation, while compacted or untouched ground requires a heavier rear-tine tiller. Choosing the right machine for your soil and garden size saves both time and effort.
Over-tilling the soil
It may be tempting to keep going until the soil looks perfectly soft, but excessive tilling does more harm than good. Too many passes break down soil structure, reduce moisture retention, and disrupt beneficial organisms. Till only as much as needed for planting and weed control.
People also ask
How often should I till my garden?
The frequency of tilling depends on soil type, gardening methods, and plant needs. For most gardens, tilling once or twice a year—typically in spring and fall—is sufficient. This prepares the soil for planting and helps with weed control without overworking it.
Can I use a tiller for weed control?
Yes, a garden tiller can help control weeds by uprooting them and incorporating organic matter into the soil. However, thick or well-established grass may require multiple passes. For large patches, using a brush cutter or manually removing grass before tilling will make the process more effective.
How deep should I set the tiller for seeding or transplanting?
The ideal tiller depth depends on the type of seeds or transplants. Always check the seed packet or transplant instructions for recommended depths. Adjust the tiller to prepare the soil accordingly—deep enough for strong root establishment but not so deep that soil structure is damaged.
Conclusion
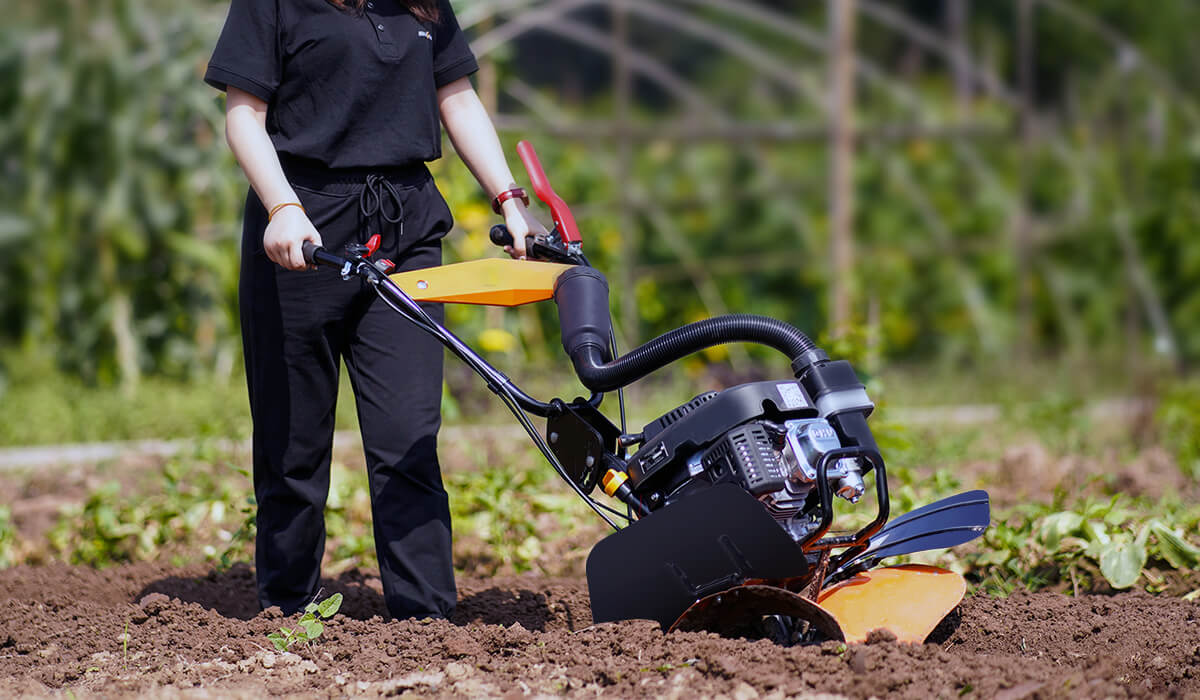
Using a garden tiller gives you the confidence and efficiency to handle gardening projects of any size. Whether you’re preparing a small vegetable patch or cultivating a large flower bed, the right tiller and proper technique can make all the difference.
By understanding soil types, adjusting depth and speed, and applying correct tillage methods, you can enhance soil structure and fertility, paving the way for strong, healthy plant growth.
As part of BISON, a professional garden tiller manufacturer in China, we know how much of a difference the right tiller can make. Now is the perfect time to put these tips into action. For durable, high-performance tillers and reliable parts, trust BISON to help you create the thriving garden you’ve always dreamed of.
Happy farming—and may your efforts bring flourishing results!

related blog
Acquire all kinds of knowledge from professional China factory
Front tine vs rear tine tillers
Compare front vs rear tine tillers for your garden: soil type, plot size, power, and digging depth. Find which tiller type best suits your needs.
how to replace tiller tines
Do you need to replace your tiller tines? BISON step-by-step guide shows you how to replace tiller tines safely and effectively
how to use a garden tiller?
In this guide, we’ll cover how to use a garden tiller effectively, from choosing the right type to operating it safely.
related product
Quote high quality products from professional China factory